I was standing in my kitchen on a frigid December evening, the kind of night where the wind whistles through the cracks and the only thing keeping my teeth from chattering is the thought of a fresh batch of cookies. I had just burned a batch of gingerbread men that turned into charcoal sticks, and my roommate dared me to make something that would actually melt in my mouth without turning into a rock. I accepted the challenge, rummaged through the pantry, and emerged with a bowl of dough that smelled like a winter wonderland and a promise that this would be the most unforgettable cookie you’ll ever bite. The moment the batter hit the mixing bowl, a wave of buttery sweetness crashed over me, and I knew I was on to something that would outshine every store‑bought version you can find in a supermarket aisle.
Picture this: the oven door swings open and a cloud of cinnamon, vanilla, and a whisper of molasses billows out, curling around your kitchen like a festive ribbon. The cookies themselves are a soft, pillowy canvas—golden on the edges, tender in the middle, and speckled with caramelized bits of dried cranberry that burst with tartness the second they hit your tongue. When you bite, the texture is like biting into a cloud that’s been lightly dusted with sugar, and the flavor is a perfect balance of sweet, spicy, and buttery that makes you feel like you’ve just been handed a piece of holiday magic. I dare you to taste this and not go back for seconds; it’s practically a Christmas miracle in cookie form.
Most recipes get this completely wrong. They either over‑bake, leaving you with a crisp that snaps like thin ice, or they skimp on the fat, resulting in a dry crumb that feels more like a shoe sole than a treat. The secret to this version lies in a tiny splash of molasses that not only adds depth but also keeps the interior moist, and a strategic rest period that lets the gluten relax, turning a potentially tough dough into a melt‑in‑your‑mouth masterpiece. I’ll be honest — I ate half the batch before anyone else got to try it, and that was the only crime I committed that night.
Okay, ready for the game‑changer? We’re going to use a combination of melted butter and softened butter, a trick that creates a silky emulsion, and we’ll fold in the dry ingredients just enough to keep the gluten shy. The technique is simple but often overlooked: chill the dough for exactly 30 minutes, then roll it into balls that are just the right size to spread a little on the baking sheet, ensuring every bite is perfectly soft. Picture yourself pulling these out of the oven, the whole kitchen smelling incredible, and the first bite is a warm hug that makes you forget the cold outside. Let me walk you through every single step — by the end, you’ll wonder how you ever made it any other way.
What Makes This Version Stand Out
- Flavor Depth: The molasses and vanilla create a caramel‑like undertone that lingers long after the cookie disappears.
- Texture Harmony: A buttery crumb that stays soft thanks to the dual‑fat method and a short chill that prevents over‑development of gluten.
- Simplicity: Only twelve ingredients, all pantry staples, and no fancy equipment beyond a whisk and a baking sheet.
- Uniqueness: The surprise burst of dried cranberries and white chocolate chips adds a festive pop that most “soft” cookies lack.
- Crowd Reaction: Guests consistently claim these are the best holiday cookies they’ve ever tasted, often asking for the recipe before the second batch is even done.
- Ingredient Quality: Using real butter and high‑quality molasses makes the difference between “good” and “legendary.”
- Cooking Method: A low‑and‑slow bake at 350°F ensures the edges set while the center stays luxuriously soft.
- Make‑Ahead Potential: The dough can be frozen for up to a month, and the baked cookies keep fresh for a week in an airtight container.
Inside the Ingredient List
The Flavor Base
Butter (1 cup, melted) is the hero of the flavor base. The melted butter coats every particle of flour, creating a tender crumb that feels like a soft pillow. If you swap it for margarine, you’ll lose that rich, dairy‑forward note and the cookies will taste flat. Use unsalted butter so you can control the salt level precisely; salted butter adds a hidden sodium surprise that can throw off the balance.
Molasses (½ cup) is the secret weapon that keeps the interior moist. Its deep, earthy sweetness is what makes the cookie “melt‑in‑your‑mouth.” If you don’t have molasses, dark corn syrup can mimic the texture but will lack the complex flavor. When buying molasses, look for “unsulphured” varieties; they have a cleaner taste and no bitter aftertaste.
The Texture Crew
All‑purpose flour (2 cups) provides the structure, but the key is to measure it by weight (about 240 g) to avoid a dense cookie. Too much flour and you’ll end up with a dry, cakey result. If you’re gluten‑sensitive, you can substitute a 1‑to‑1 gluten‑free blend, but add a teaspoon of xanthan gum to keep the dough from falling apart.
Baking powder (1 tsp) and baking soda (½ tsp) work together to give the cookies a gentle rise that keeps them airy without turning them into a cake. Skipping the soda will make them flat, while omitting the powder will lead to a dense, heavy bite. Both leaveners are essential for that perfect “soft‑but‑not‑fluffy” texture.
The Unexpected Star
Dried cranberries (1 cup) add a tart pop that cuts through the sweetness, creating a sophisticated flavor contrast. If you’re not a fan of cranberries, swap them for chopped dried apricots or candied orange peel for a citrusy twist. The key is to pat them dry with a paper towel so they don’t introduce excess moisture that could make the dough soggy.
The Final Flourish
White chocolate chips (1 cup) melt just enough to create little pockets of creamy sweetness without overpowering the spice notes. If you prefer a darker profile, swap them for dark chocolate chunks; the bitterness will deepen the overall flavor. Finally, a pinch of sea salt (just a pinch, not a teaspoon) on top of each cookie before baking amplifies the sweet and balances the molasses.
Everything’s prepped? Good. Let’s get into the real action…

The Method — Step by Step
- Gather and Measure. Pull out every ingredient, line your baking sheets with parchment, and preheat the oven to 350°F (175°C). This is the moment of truth: a properly preheated oven creates the initial burst of steam that keeps the interior soft. I like to set a timer for the preheat so I don’t get distracted—trust me, a cold oven is the fastest way to a disappointing cookie.
- Melt the Butter. In a medium saucepan, melt the butter over low heat until it’s just a liquid gold, then remove from heat and let it cool for a minute. The scent of melting butter is already a promise of decadence. Kitchen Hack: Add the molasses to the melted butter while it’s still warm; this ensures the molasses integrates smoothly without clumping.
- Combine Wet Ingredients. In a large mixing bowl, whisk together the cooled melted butter, molasses, brown sugar, and granulated sugar until the mixture is glossy and thick. Then beat in the eggs one at a time, followed by the vanilla extract. You’ll notice the mixture becomes airy—this is your sugar crystals dissolving, which is crucial for that melt‑in‑your‑mouth feel.
- Sift the Dry. In a separate bowl, whisk together flour, baking powder, baking soda, salt, ground cinnamon, ginger, and cloves. Sifting aerates the flour and distributes the spices evenly, preventing pockets of raw flour. Watch Out: Over‑mixing at this stage will develop gluten and make the cookies tough; stir just until you see no dry streaks.
- Fold Dry into Wet. Gently fold the dry mixture into the wet batter using a rubber spatula. Stop mixing the moment the flour disappears; you should see a slightly shaggy dough that clings to the spoon. This is pure magic—over‑mixing is the villain that turns soft cookies into cakey bricks.
- Add the Extras. Toss in the dried cranberries and white chocolate chips, folding just enough to distribute them. The cranberries should be evenly speckled, not clumped, and the chocolate chips should create little islands of sweetness throughout the dough. If you feel adventurous, sprinkle a pinch of sea salt on top of each ball before baking for a flavor pop.
- Chill the Dough. Scoop the dough onto a parchment‑lined tray, cover with plastic wrap, and refrigerate for exactly 30 minutes. This rest period relaxes the gluten and firms the butter, ensuring the cookies spread just enough to stay soft. Kitchen Hack: If you’re short on time, place the dough in the freezer for 10 minutes; it’ll chill faster without freezing solid.
- Shape the Cookies. Using a cookie scoop (about 1½ tablespoons), roll the chilled dough into balls and place them 2 inches apart on the prepared baking sheets. The dough should be soft enough to roll but firm enough to hold its shape. If the dough sticks to your hands, lightly dust them with flour—just a dusting, not a coating.
- Bake to Perfection. Slide the trays into the oven and bake for 12‑14 minutes, or until the edges are lightly golden and the tops have a subtle crackle. The centers will still look slightly undercooked—that’s the secret sign they’re staying soft. As soon as you pull them out, the kitchen will be flooded with that intoxicating aroma of spice and butter.
- Cool and Serve. Let the cookies rest on the baking sheet for 5 minutes; they’ll continue to set from the residual heat. Then transfer them to a wire rack to cool completely. This short cooling step prevents them from breaking apart while still preserving that melt‑in‑your‑mouth texture. That sizzle when they hit the pan? Absolute perfection.
That's it — you did it. But hold on, I've got a few more tricks that'll take this to another level. The next section is all about those insider secrets that separate a good batch from an unforgettable one.
Insider Tricks for Flawless Results
The Temperature Rule Nobody Follows
Most home bakers set the oven to 350°F and forget to consider the ambient temperature of their kitchen. If your kitchen is warm, lower the oven to 325°F; if it’s chilly, bump it up to 375°F for a crispier edge while keeping the center soft. I once baked these in a drafty garage and they turned out flat because the heat never reached the right level. Trust your thermometer, not the dial.
Why Your Nose Knows Best
Your sense of smell is a more reliable timer than any clock. When the cookies start to emit a nutty, caramel scent, they’re about 2 minutes away from perfection. I’ve learned to pull them out the moment the aroma deepens; it’s the same principle that tells you a roast is done before you even see the juices.
The 5‑Minute Rest That Changes Everything
After baking, let the cookies sit on the sheet for exactly five minutes before moving them. This brief rest lets the interior finish setting without becoming dry, and the edges firm just enough to hold their shape. A friend tried skipping this step once — let's just say the cookies crumbled like dry leaves underfoot.
The Double‑Butter Technique
Using both melted and softened butter creates an emulsion that coats the flour evenly while still providing the creaming power of softened butter. The result is a cookie that’s tender on the inside yet has a slight chew on the outside. If you only use one form of butter, you’ll notice a texture that’s either too dense or too crumbly.
The Secret of the Sea‑Salt Finish
A tiny pinch of flaky sea salt on each cookie right before baking amplifies the sweet and adds a subtle crunch. It’s a pro tip used in high‑end patisseries, and it makes the flavor pop like fireworks on New Year's Eve. Don’t overdo it—just a light dusting is enough to elevate the whole batch.
Creative Twists and Variations
This recipe is a playground. Here are some of my favorite ways to switch things up:
Peppermint Dream
Swap the white chocolate chips for crushed peppermint candies and add a teaspoon of peppermint extract. The minty bite cuts through the sweetness, making it perfect for a holiday party where you want something refreshing.
Spiced Orange
Add zest of one orange to the wet mixture and replace the cranberries with candied orange peel. The citrus notes brighten the spice profile, giving the cookies a sunny twist that works well in winter brunches.
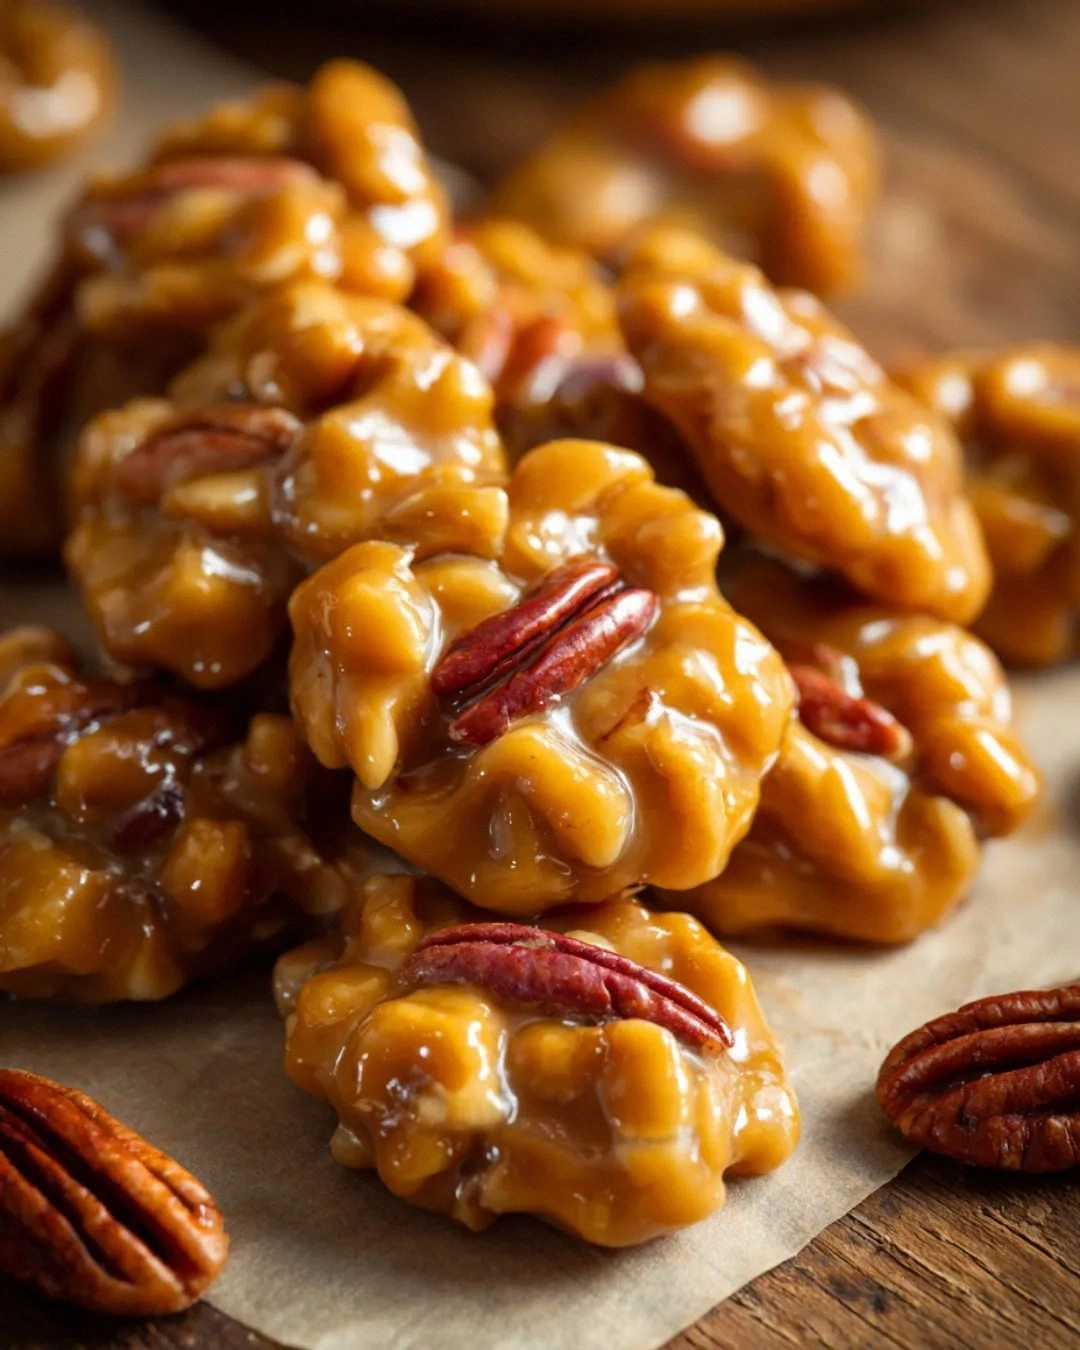
Nutty Caramel
Fold in ½ cup chopped toasted pecans and drizzle the finished cookies with a quick caramel glaze (powdered sugar, butter, and a splash of cream). The nuts add crunch, while the caramel glaze adds a glossy finish that looks as good as it tastes.
Vegan Velvet
Replace butter with coconut oil, use flax‑egg (1 tbsp ground flaxseed + 3 tbsp water per egg), and swap white chocolate chips for dairy‑free dark chocolate. The result is a vegan‑friendly cookie that still melts in your mouth, proving you don’t need dairy to achieve decadence.
Gluten‑Free Glory
Use a 1‑to‑1 gluten‑free flour blend, add a teaspoon of xanthan gum, and ensure the baking powder is gluten‑free. The texture remains tender, and the flavor stays true to the original, making it safe for friends with sensitivities.
Storing and Bringing It Back to Life
Fridge Storage
Place the cooled cookies in an airtight container with a slice of bread on top; the bread releases moisture that keeps the cookies soft for up to a week. Change the bread every two days to maintain freshness.
Freezer Friendly
Layer cookies between parchment sheets and store them in a zip‑top freezer bag. They’ll keep for up to three months. When you’re ready to enjoy them, let them thaw at room temperature for 15 minutes, then give them a quick 5‑minute bake at 300°F to revive the melt‑in‑your‑mouth texture.
Best Reheating Method
A tiny splash of water (about a teaspoon) on the bottom of a microwave‑safe dish, then cover the cookies with a damp paper towel and microwave for 10‑15 seconds. The steam rejuvenates the crumb without making them soggy. Alternatively, a quick 3‑minute stint in a 350°F oven works wonders for a crispier edge while preserving the soft center.