I was standing in my kitchen, half‑heartedly scrolling through a sea of “chicken finger” videos, when a friend dared me to create the ultimate version that would make even the most seasoned fast‑food junkie weep with joy. The air was thick with the lingering scent of burnt toast from a failed attempt earlier that week, and my stomach was growling louder than a marching band. I grabbed a raw chicken breast, tossed it onto the counter, and whispered, “If this doesn’t turn out legendary, I’m ordering pizza.” The moment I brushed the first coat of flour onto the meat, a golden flash of inspiration hit me – what if we infused the coating with a double dose of Parmesan and a secret garlic‑cheese sauce that clings like velvet? This is hands down the best version you’ll ever make at home, and I’m about to prove it, step by step.
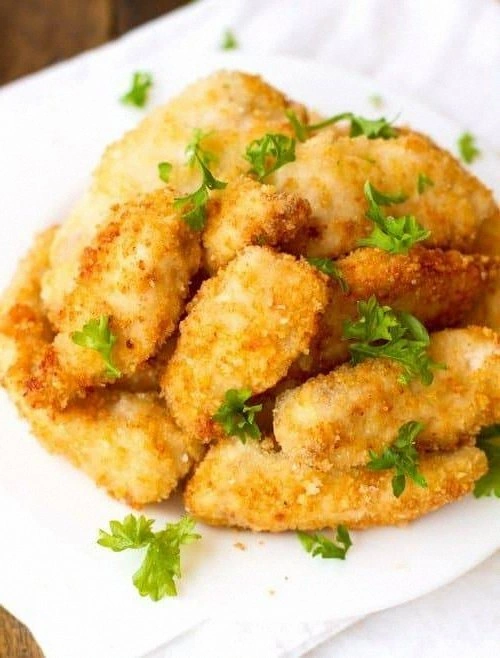
Picture yourself pulling these chicken fingers out of the oven, the whole kitchen smelling like a cozy Italian trattoria, the crust shimmering with a buttery sheen, and the interior still juicy enough to make a meat‑lover weep. The first bite delivers a crunch that shatters like thin ice, instantly followed by a creamy, garlicky cheese river that slides across your palate, leaving a lingering note of nutty Parmesan that refuses to fade. Most recipes get this completely wrong, either drowning the chicken in a soggy batter or leaving the coating dry as a desert. I’ll be honest — I ate half the batch before anyone else got a chance to try it, and that’s because the flavor is that addictive. Stay with me here — this is worth it.
What truly sets this dish apart is a tiny, unexpected twist: a splash of milk‑infused garlic‑cheese sauce folded into the breadcrumb mixture, creating a coating that’s both crisp and decadently creamy. I dare you to taste this and not go back for seconds; the combination of textures will have you questioning every other chicken finger you’ve ever known. If you’ve ever struggled with soggy coatings or bland seasoning, you’re not alone — and I’ve got the fix that turns a simple snack into a show‑stopping star. Okay, ready for the game‑changer? Let me walk you through every single step — by the end, you’ll wonder how you ever made it any other way.
What Makes This Version Stand Out
- Flavor Explosion: The marriage of sharp Parmesan, roasted garlic, and a buttery cheese sauce creates a depth of flavor that rivals gourmet restaurants.
- Crunch Factor: A double‑coating technique guarantees a crust that stays crisp even after a brief rest, perfect for dipping.
- Simplicity: All ingredients are pantry‑friendly, and the process uses everyday kitchen tools – no fancy equipment required.
- Uniqueness: Incorporating a milk‑based cheese sauce into the breadcrumb mix is a secret most home cooks overlook.
- Crowd Reaction: Guests often declare these the best chicken fingers they’ve ever tasted, leading to immediate repeat orders.
- Ingredient Quality: Freshly grated Parmesan and real garlic elevate the dish far beyond processed cheese powders.
- Cooking Method: Baking instead of deep‑frying reduces fat while preserving that irresistible crunch.
- Make‑Ahead Potential: The coated fingers can be frozen and baked straight from the freezer, ideal for busy weeknights.
Inside the Ingredient List
The Flavor Base
Fresh garlic cloves, minced to a fine paste, are the heart of the sauce. When sautéed briefly in butter, the garlic releases a sweet, caramelized aroma that becomes the foundation for the cheese sauce. Skipping this step would leave the sauce flat and one‑dimensional, like a song missing its chorus. If you’re allergic to garlic, a pinch of garlic powder can substitute, but you’ll lose the nuanced depth that fresh garlic provides. Pro tip: choose a garlic variety with larger cloves for a milder, sweeter flavor.
The Texture Crew
Panko breadcrumbs give the coating its airy crunch, while grated Parmesan adds a salty, nutty bite. The breadcrumbs absorb just enough of the cheese‑milk mixture to stay light, preventing a soggy exterior. Using regular breadcrumbs would turn the crust dense and heavy, akin to a stale cracker. For a gluten‑free version, swap the flour and panko with a blend of almond flour and gluten‑free breadcrumbs, but expect a slightly different texture. Always toast the panko lightly before mixing to boost its golden hue.
The Unexpected Star
Whole‑milk ricotta, folded into the sauce, creates a silk‑smooth mouthfeel that’s rarely found in chicken finger recipes. This dairy surprise adds a subtle tang that balances the richness of butter and cheese. If you omit ricotta, the sauce will still be tasty but lack that luxurious body that makes each bite feel like a mini‑cheesecake. Opt for a high‑quality, creamy ricotta – the kind you’d use for lasagna – and drain any excess whey to avoid a watery coating. A quick tip: warm the ricotta slightly before mixing; it blends more seamlessly.
The Final Flourish
A splash of whole‑milk and a pinch of smoked paprika give the coating a subtle earthiness and a gorgeous amber color. The milk helps the breadcrumbs adhere while the paprika adds a whisper of smokiness that elevates the overall flavor profile. Skipping the milk would result in a dry coating that falls off during baking, and leaving out paprika would make the dish look bland. If you prefer a spicier kick, replace the smoked paprika with a dash of cayenne or chipotle powder. Remember, a little goes a long way – you want a hint, not a fire alarm.
Everything's prepped? Good. Let’s get into the real action…
The Method — Step by Step
Start by cutting the chicken breasts into uniform strips, about one inch wide. This uniformity ensures even cooking, preventing some pieces from turning rubbery while others stay undercooked. Pat the strips dry with paper towels – moisture is the enemy of crispness. Sprinkle a light dusting of salt and pepper over the raw strips, letting the seasoning penetrate for at least five minutes. That sizzle when it hits the pan? Absolute perfection.
In a shallow bowl, whisk together two cups of all‑purpose flour, a teaspoon of garlic powder, and a pinch of smoked paprika. The flour creates the first barrier, sealing in the chicken’s juices. Dredge each strip in the flour mixture, shaking off excess – think of it as giving the chicken a quick dusting of snow before the storm.
Whisk together two large eggs with a splash of whole milk until frothy. The egg wash acts like a glue, binding the breadcrumb‑cheese mixture to the chicken. Dip each flour‑coated strip into the egg mixture, ensuring every nook is soaked. This step is where the magic begins; if the egg wash is too thin, the coating will slip off during baking.
Now for the star coating: combine one cup of panko breadcrumbs, one cup of finely grated Parmesan, half a cup of ricotta, and a tablespoon of melted butter in a large bowl. Toss everything together until the crumbs are evenly coated with the creamy cheese blend. This is the moment of truth – the mixture should feel slightly moist but not wet. Watch Out: Over‑mixing can break down the panko, turning it into a soggy paste.
Press each egg‑washed chicken strip into the breadcrumb mixture, turning to coat all sides. For an ultra‑crisp finish, give each finger a second quick dip in the egg wash and a final light dusting of breadcrumbs – this double coating is the secret behind the unbeatable crunch.
Arrange the coated chicken fingers on a wire rack set over a baking sheet lined with parchment. This allows hot air to circulate, preventing the bottom from steaming. Lightly spray the tops with cooking oil; the spray helps achieve a golden, glossy finish without deep‑frying.
Preheat your oven to 425°F (220°C). Once hot, slide the baking sheet into the oven and bake for 18‑20 minutes, flipping halfway through. The edges will start pulling away from the meat, and the coating will turn a deep amber, smelling toasty and buttery. If you prefer extra caramelization, broil for the last two minutes, keeping a close eye to avoid burning.
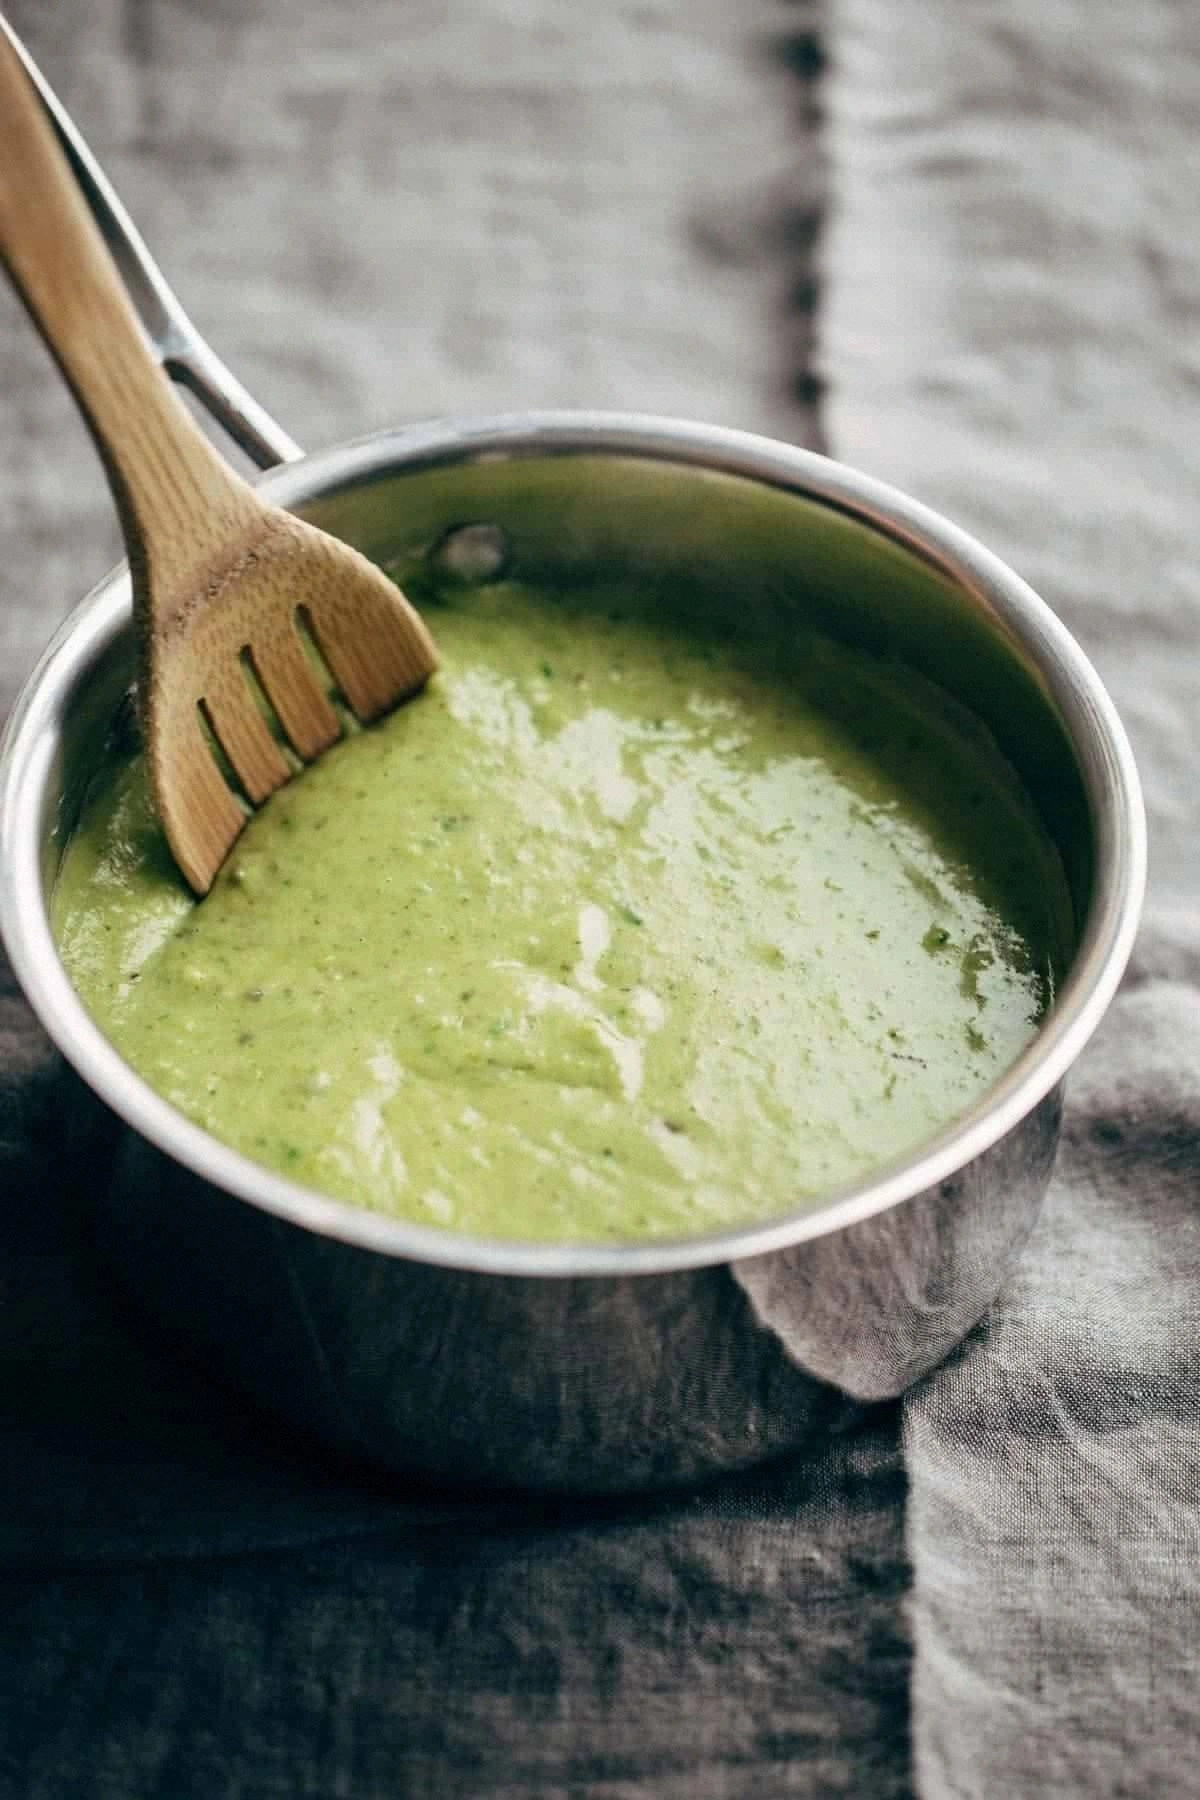
While the fingers bake, whisk together the garlic‑cheese sauce: melt two tablespoons of butter, add minced garlic, sauté for 30 seconds, then stir in a cup of heavy cream, half a cup of shredded mozzarella, and a third cup of grated Parmesan. Simmer until the sauce thickens, then season with a pinch of nutmeg and black pepper. This sauce will coat the fingers like velvet, hugging every crispy ridge.
When the chicken fingers are golden and the internal temperature hits 165°F (74°C), remove them from the oven. Transfer to a serving platter, drizzle generously with the garlic‑cheese sauce, and sprinkle a final dusting of fresh parsley for color. Let them rest for two minutes – this short pause lets the juices redistribute, keeping the meat moist while the crust stays crisp.
That's it — you did it. But hold on, I've got a few more tricks that'll take this to another level, ensuring every bite is as unforgettable as the first.
Insider Tricks for Flawless Results
The Temperature Rule Nobody Follows
Most home cooks bake at 350°F, assuming a slower cook yields juicier meat. In reality, a hot oven (425°F) creates an instant crust that locks moisture inside, while still cooking the interior quickly. I once tried a low‑and‑slow approach and ended up with soggy, limp fingers that fell apart on the plate. The key is to preheat the oven fully and resist the urge to open the door early; each opening drops the temperature and can compromise the crunch.
Why Your Nose Knows Best
Your sense of smell is the ultimate timer. When the coating reaches a deep golden hue and you catch that buttery, nutty aroma, you’re within seconds of perfection. Trust that nose over a strict timer; ovens vary, and visual cues are more reliable. If you smell a hint of burnt sugar, pull the tray out immediately and finish under the broiler for a quick crisp.
The 5‑Minute Rest That Changes Everything
After baking, let the chicken fingers sit for five minutes on a cooling rack. This short rest allows the coating to set and the juices to settle, preventing a soggy bottom when you serve. I once skipped this step in a rush and the sauce seeped into the crumbs, making them mushy – a heartbreaking mistake.
Butter‑Brushed Finish
A quick brush of melted butter right after baking adds a glossy sheen and a subtle richness that amplifies the Parmesan flavor. Use a pastry brush and swirl the butter in a circular motion to coat each finger evenly. This extra step is optional but makes the difference between “good” and “show‑stopper.”
The Secret Sauce Stir
When simmering the garlic‑cheese sauce, stir continuously with a wooden spoon. This prevents the cheese from clumping and ensures a silky texture that clings perfectly to the chicken. A common mistake is to let the sauce sit too long; it will thicken excessively and become difficult to drizzle.
Creative Twists and Variations
This recipe is a playground. Here are some of my favorite ways to switch things up:
Spicy Sriracha Kick
Add a tablespoon of Sriracha to the egg wash and sprinkle crushed red pepper flakes into the breadcrumb mix. The result is a fiery bite that pairs beautifully with the creamy cheese sauce, perfect for heat lovers.
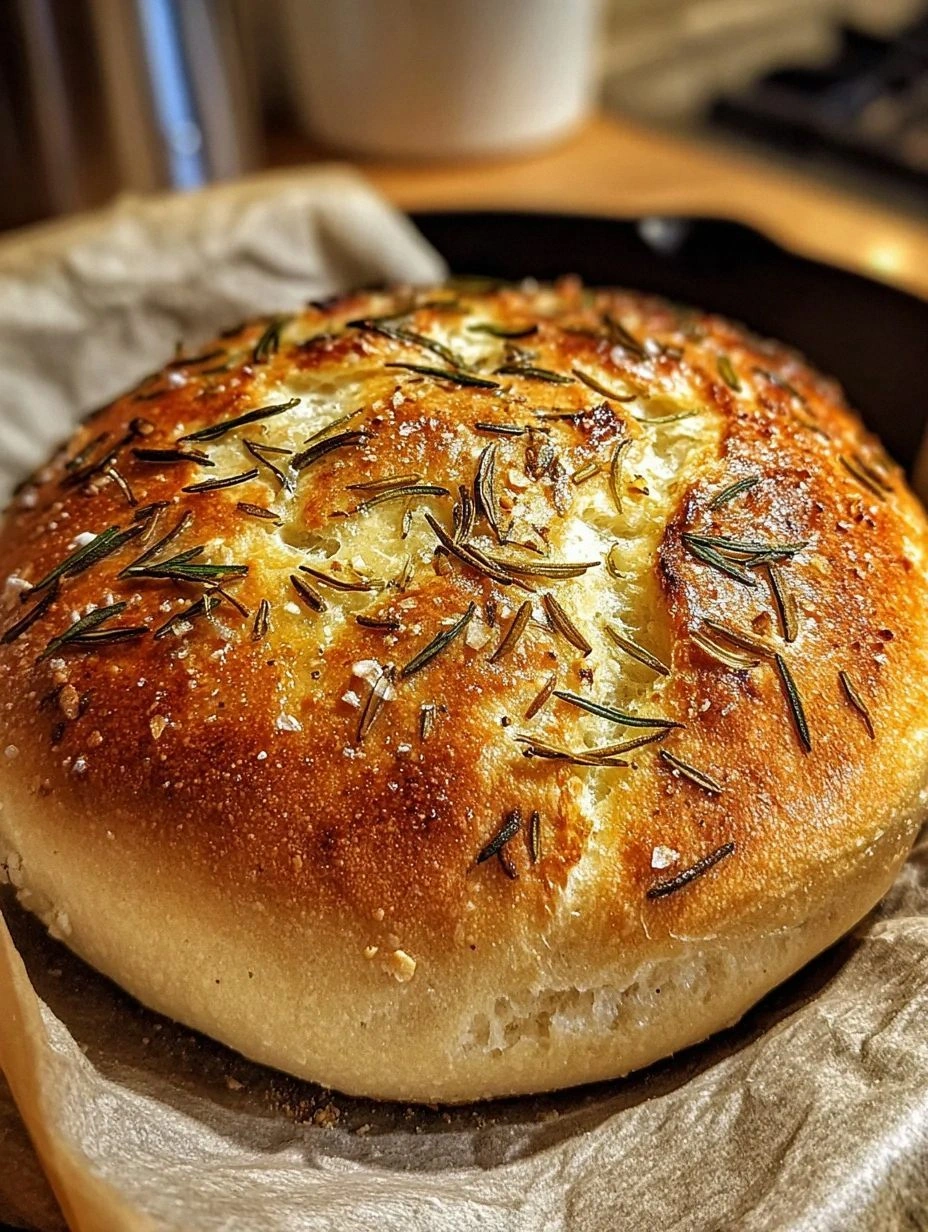
Herb‑Infused Delight
Fold chopped fresh rosemary, thyme, and basil into the Parmesan‑breadcrumb blend. The herbaceous notes bring a fresh, garden‑like aroma that brightens the dish, ideal for spring gatherings.
Cheddar‑Cheese Explosion
Swap half of the Parmesan for sharp cheddar and add a dash of mustard powder to the sauce. This creates a tangy, sharp flavor profile that cuts through the richness, great for those who love bold cheese.
Gluten‑Free Glory
Replace the all‑purpose flour with almond flour and use gluten‑free panko. The texture changes slightly, becoming a bit denser, but the flavor remains spectacular, making the dish accessible to those with gluten sensitivities.
Breakfast Twist
Serve the chicken fingers alongside a poached egg and drizzle with a light hollandaise. The runny yolk adds a luxurious sauce that competes with the garlic‑cheese, turning a snack into a brunch centerpiece.
Storing and Bringing It Back to Life
Fridge Storage
Place cooled chicken fingers in an airtight container lined with a paper towel to absorb excess moisture. They’ll stay crisp for up to three days. When reheating, pop them in a preheated 375°F (190°C) oven for 8‑10 minutes, and they’ll regain their golden crunch.
Freezer Friendly
Arrange the uncooked, coated fingers on a parchment‑lined tray and freeze solid (about 2 hours). Transfer to a zip‑top freezer bag; they’ll keep for up to two months. To bake, skip thawing, add five minutes to the original bake time, and enjoy as if freshly made.
Best Reheating Method
For ultimate crispness, reheat in a hot oven rather than a microwave. Before reheating, drizzle a tiny splash of water over the fingers and cover loosely with foil; the steam prevents drying while the oven restores the crust. Remove the foil for the last two minutes to re‑crisp the exterior.