The first time I tried to make a waffle that would rival the decadence of a red velvet cake, I nearly set the kitchen on fire. I had a bowl of batter, a splash of red food coloring, and a fierce determination to beat the blandness that usually comes with breakfast. The moment the batter hit the hot iron and the aroma of melted butter mingled with the faint scent of cocoa, I knew I’d stumbled on something extraordinary. If you’ve ever found yourself scrolling past a recipe that promised “red velvet” and then dismissed it as a gimmick, this is the one that will rewrite that narrative.
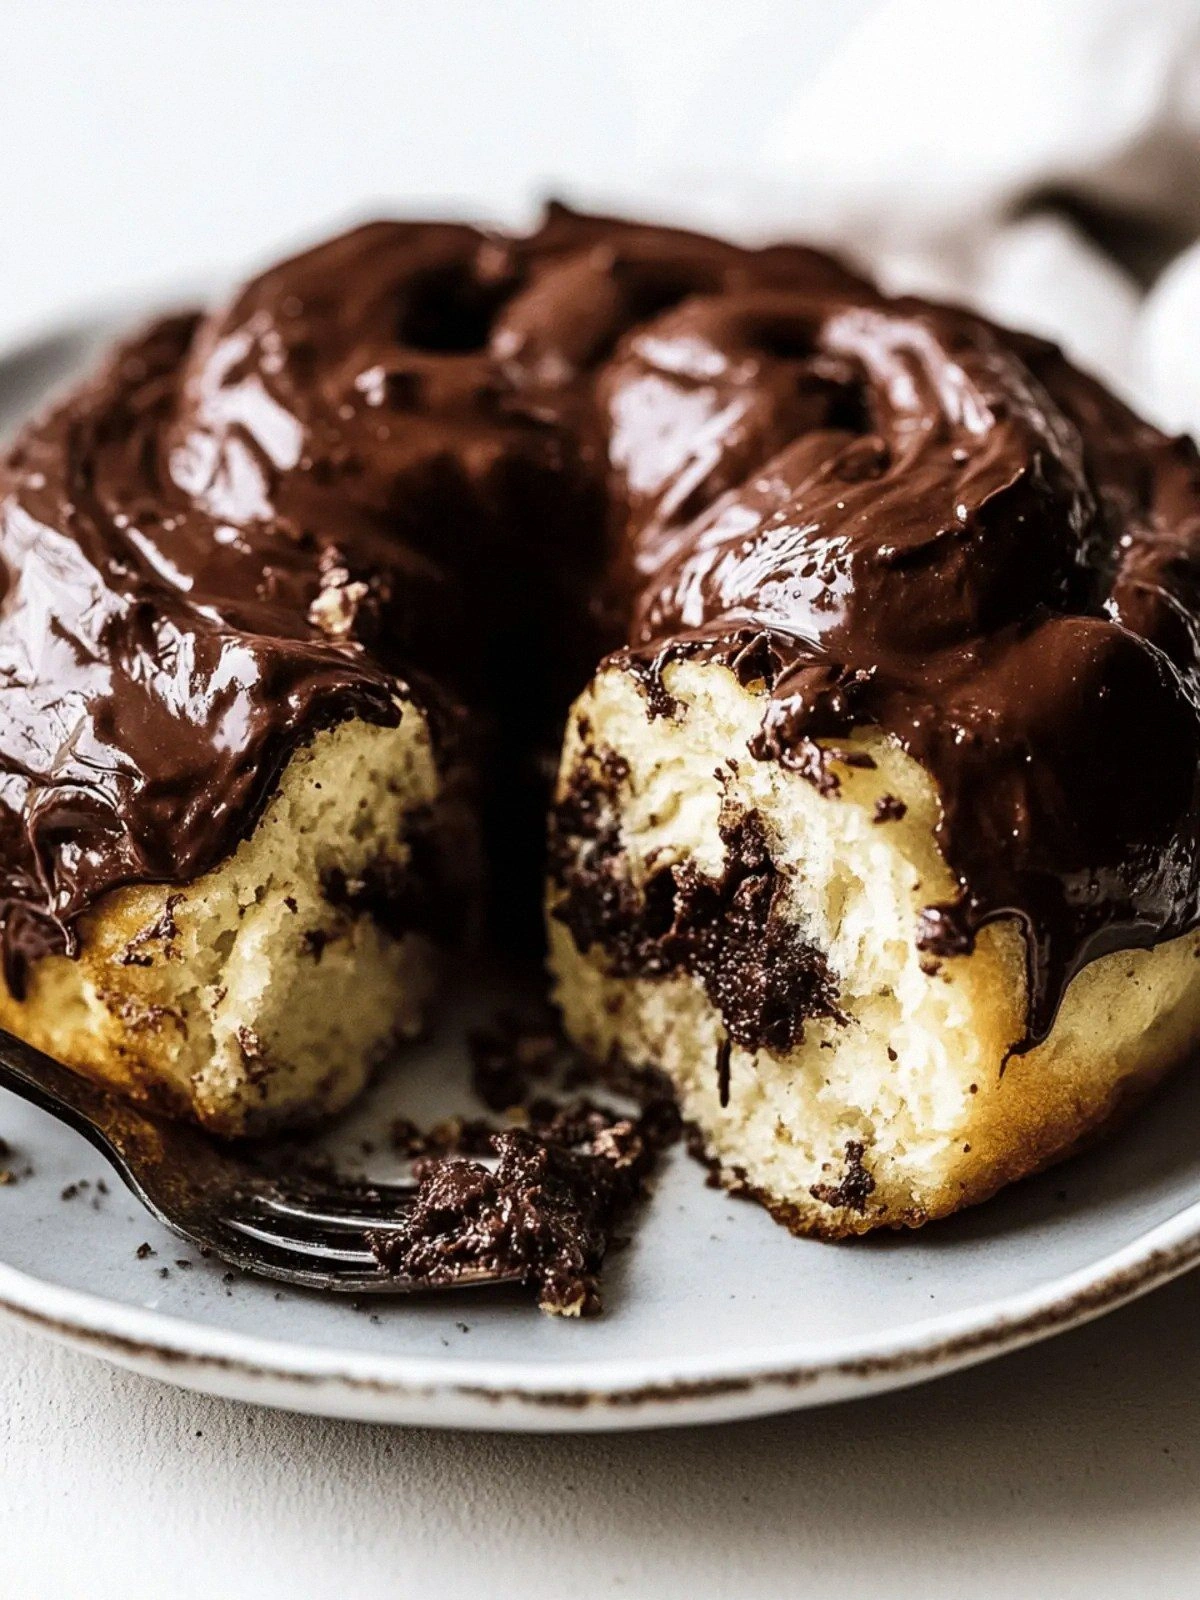
Picture this: the kitchen lights are dimmed just enough to highlight the glossy sheen of the waffle iron, the timer ticks, and then the first waffle emerges, its edges crisp like a freshly baked cookie, its center a swirling, marble‑like tapestry of deep crimson and creamy white. The sound of the batter sizzling is a low, satisfying rumble that signals the birth of a masterpiece. The scent that fills the air is a warm, buttery sweetness with a hint of chocolate, promising that each bite will be both comforting and adventurous.
What makes this version stand out is not just the visual drama but the harmony of flavors and textures that come together in perfect balance. The batter is airy, thanks to the buttermilk and the careful use of baking soda, yet it holds the rich, velvety color without becoming soggy. The chocolate swirl is not a mere garnish but a bold flavor statement that cuts through the sweetness of the batter, creating a mouthful that is both indulgent and complex. I dare you to taste this and not go back for seconds; the experience is addictive and surprisingly wholesome.
And here’s the kicker: I’ve discovered a trick that turns an ordinary waffle into a showstopper in minutes. By adding a splash of cocoa powder to one half of the batter before pouring it into the iron, you create a marbled effect that looks like a piece of art, not a breakfast item. Picture yourself pulling this out of the oven, the whole kitchen smelling incredible, and the family’s eyes widening in delight. Let me walk you through every single step — by the end, you’ll wonder how you ever made it any other way.
What Makes This Version Stand Out
- Texture: The batter achieves a delicate, fluffy interior that feels like a cloud, while the exterior crisps into a golden, caramelized crust. The contrast is immediate, giving each bite a satisfying crunch followed by a melt-in-your-mouth softness.
- Color: The red food coloring is infused in a way that preserves the natural brightness of the batter, creating a vivid, eye‑catching hue that rivals the most Instagram‑ready desserts.
- Flavor Depth: The subtle chocolate swirl adds a layer of complexity, turning a simple sweet waffle into a multi‑dimensional treat that satisfies both sweet and savory cravings.
- Ease: Despite its showmanship, the recipe requires no advanced equipment or techniques, making it accessible to any home cook with a standard waffle iron.
- Make‑Ahead: The batter can be prepared ahead of time and refrigerated for up to 24 hours, allowing you to whip up these beauties on busy mornings without sacrificing quality.
- Versatility: The base can be transformed into savory variations or topped with a variety of sauces, making it a canvas for endless creativity.
- Audience Impact: Whether you’re a brunch enthusiast or a dessert aficionado, the reaction is always the same: awe, delight, and an insatiable desire for more.
- Ingredient Quality: The use of buttermilk and real butter elevates the batter, giving it a depth that generic powdered milk or margarine simply cannot match.
Inside the Ingredient List
The Flavor Base
All-Purpose Flour is the backbone of the batter, providing structure while remaining light enough to keep the waffles fluffy. Choosing a flour with a moderate protein content (around 10-12%) ensures that the batter doesn’t become dense. If you’re craving a gluten‑free option, swap it for a 1:1 gluten‑free blend, but be aware that the texture may become slightly denser.
The Sweetness Crew
Sugar is the sweetener that balances the tartness of the buttermilk and the bitterness of the cocoa. It also caramelizes on the surface, giving the waffles a subtle caramel flavor. If you prefer a lower‑sugar version, replace half the sugar with a natural sweetener like honey or maple syrup, but expect a slight change in browning.
The Leavening Magic
Baking Powder and Baking Soda work together to lift the batter, creating pockets of air that make the waffles light. The baking soda reacts with the acidity of the buttermilk, producing carbon dioxide that expands the batter. Skip one and the waffles will be flat and heavy; both are essential for that airy feel.
The Unexpected Star
Red Food Coloring is the showstopper that turns ordinary waffles into a vibrant, Instagram‑ready dish. A single bottle is more than enough for this recipe, and the color stays bright even after baking. If you’re concerned about artificial dyes, look for a natural red pigment derived from beet juice or paprika for a healthier option.
The Final Flourish
Buttermilk brings a tangy flavor that cuts through the sweetness, while also tenderizing the batter. Its acidity reacts with the baking soda, creating a light, airy texture. If you don’t have buttermilk on hand, combine 1 cup of milk with 1 tablespoon of lemon juice and let it sit for 5 minutes; this creates a quick substitute that will work just as well.
Everything's prepped? Good. Let's get into the real action...
The Method — Step by Step
- Preheat your waffle iron to medium‑high heat, ensuring it’s hot enough that a drop of batter sizzles instantly. While the iron warms, whisk together the dry ingredients—flour, sugar, baking powder, baking soda, salt, cocoa powder, and a generous splash of red food coloring—until the mixture is smooth and free of lumps. This dry mix will be the foundation of your marbled masterpiece.
- In a separate bowl, whisk the wet ingredients: buttermilk, eggs, melted butter, and vanilla extract, until the mixture is glossy and the eggs are fully incorporated. The butter should be warm enough to blend seamlessly, but not hot enough to scramble the eggs.
- Make a small well in the center of the dry mix and pour in the wet mixture. Stir gently with a wooden spoon, folding the batter until it’s just combined—overmixing will develop gluten and create a tough waffle. You’ll notice the batter has a slightly lumpy texture, which is exactly what you want for a tender crumb.
- Divide the batter into two equal portions. To one portion, stir in an extra tablespoon of cocoa powder to deepen the chocolate flavor and create the marble effect. The other portion remains plain; this contrast is what gives the waffles their signature swirls.
- Pour a thin layer of the plain batter into the center of the preheated iron, then add a layer of the chocolate‑infused batter on top. Repeat the layering until the iron is filled, ensuring each layer is evenly spread. This technique is the secret to that dramatic marble pattern you’ll see when you flip the waffles.
- Close the lid and cook for 4–5 minutes, or until the waffle is golden brown and a toothpick inserted into the center comes out clean. The aroma should be warm, buttery, and slightly chocolatey—a signal that the batter has caramelized just right.
- Use a fork or tongs to lift the waffle gently and check the edges. They should pull away from the iron with minimal resistance, indicating a crisp exterior. If the edges look too soft, let it cook an extra minute.
- Repeat the process for the remaining batter, stacking the finished waffles on a wire rack to keep them crisp. Serve immediately with a dollop of whipped cream, a drizzle of maple syrup, or a scoop of vanilla ice cream for an extra indulgent touch.
That’s it — you did it. But hold on, I've got a few more tricks that'll take this to another level. Whether you’re topping them with fresh berries or swirling in a spoonful of Nutella, the possibilities are endless. The key is to keep the batter light and the iron hot, and you’ll always end up with waffles that look like they belong in a five‑star restaurant.
Insider Tricks for Flawless Results
The Temperature Rule Nobody Follows
Many home cooks set their waffle iron to low heat to avoid burning, but this actually makes the waffles soggy. I’ve found that a medium‑high setting (around 375°F) gives the perfect balance—crisp edges and a soft center. If you’re using an older iron, preheat it for a full five minutes to ensure even heat distribution.
Why Your Nose Knows Best
When the first waffle emerges, the aroma should be a warm, buttery scent with a faint hint of chocolate. If it smells more like burnt sugar, you’re overcooking. Trust your nose as the ultimate judge of doneness; it’s a reliable, sensory cue that the batter has caramelized just right.
The 5‑Minute Rest That Changes Everything
After cooking, let the waffles rest on a wire rack for five minutes before serving. This brief pause allows the steam to escape, preventing the waffles from becoming soggy. It also gives the layers time to set, ensuring that the marble pattern remains crisp and defined.
How to Keep Them Crispy All Day
If you need to store the waffles for later, lay them flat on a baking sheet and freeze for up to a week. Reheat in a toaster or oven at 350°F for 5 minutes, and they’ll regain their crispness. For a quick snack, simply pop them in the microwave for 20 seconds—just enough to warm them without making them chewy.
Serve with a Twist
Pair these waffles with a dollop of lemon‑infused whipped cream or a drizzle of salted caramel sauce to balance the sweetness. For a savory spin, sprinkle a pinch of sea salt and serve with smoked salmon and a dollop of crème fraîche. The versatility of the base means you can transform it into a brunch, dessert, or even a sweet breakfast sandwich.
Creative Twists and Variations
This recipe is a playground. Here are some of my favorite ways to switch things up:
Chocolate‑Mint Swirl
Add a handful of fresh mint leaves to the chocolate batter for a refreshing twist. The mint complements the chocolate, creating a flavor profile that’s both sweet and cooling. This version is perfect for a summer brunch.
Nutty Crunch
Fold in a handful of chopped pecans or walnuts into the plain batter before pouring. The nuts add a delightful crunch and a nutty undertone that pairs beautifully with the buttery waffle base. A drizzle of honey afterward turns it into a decadent treat.
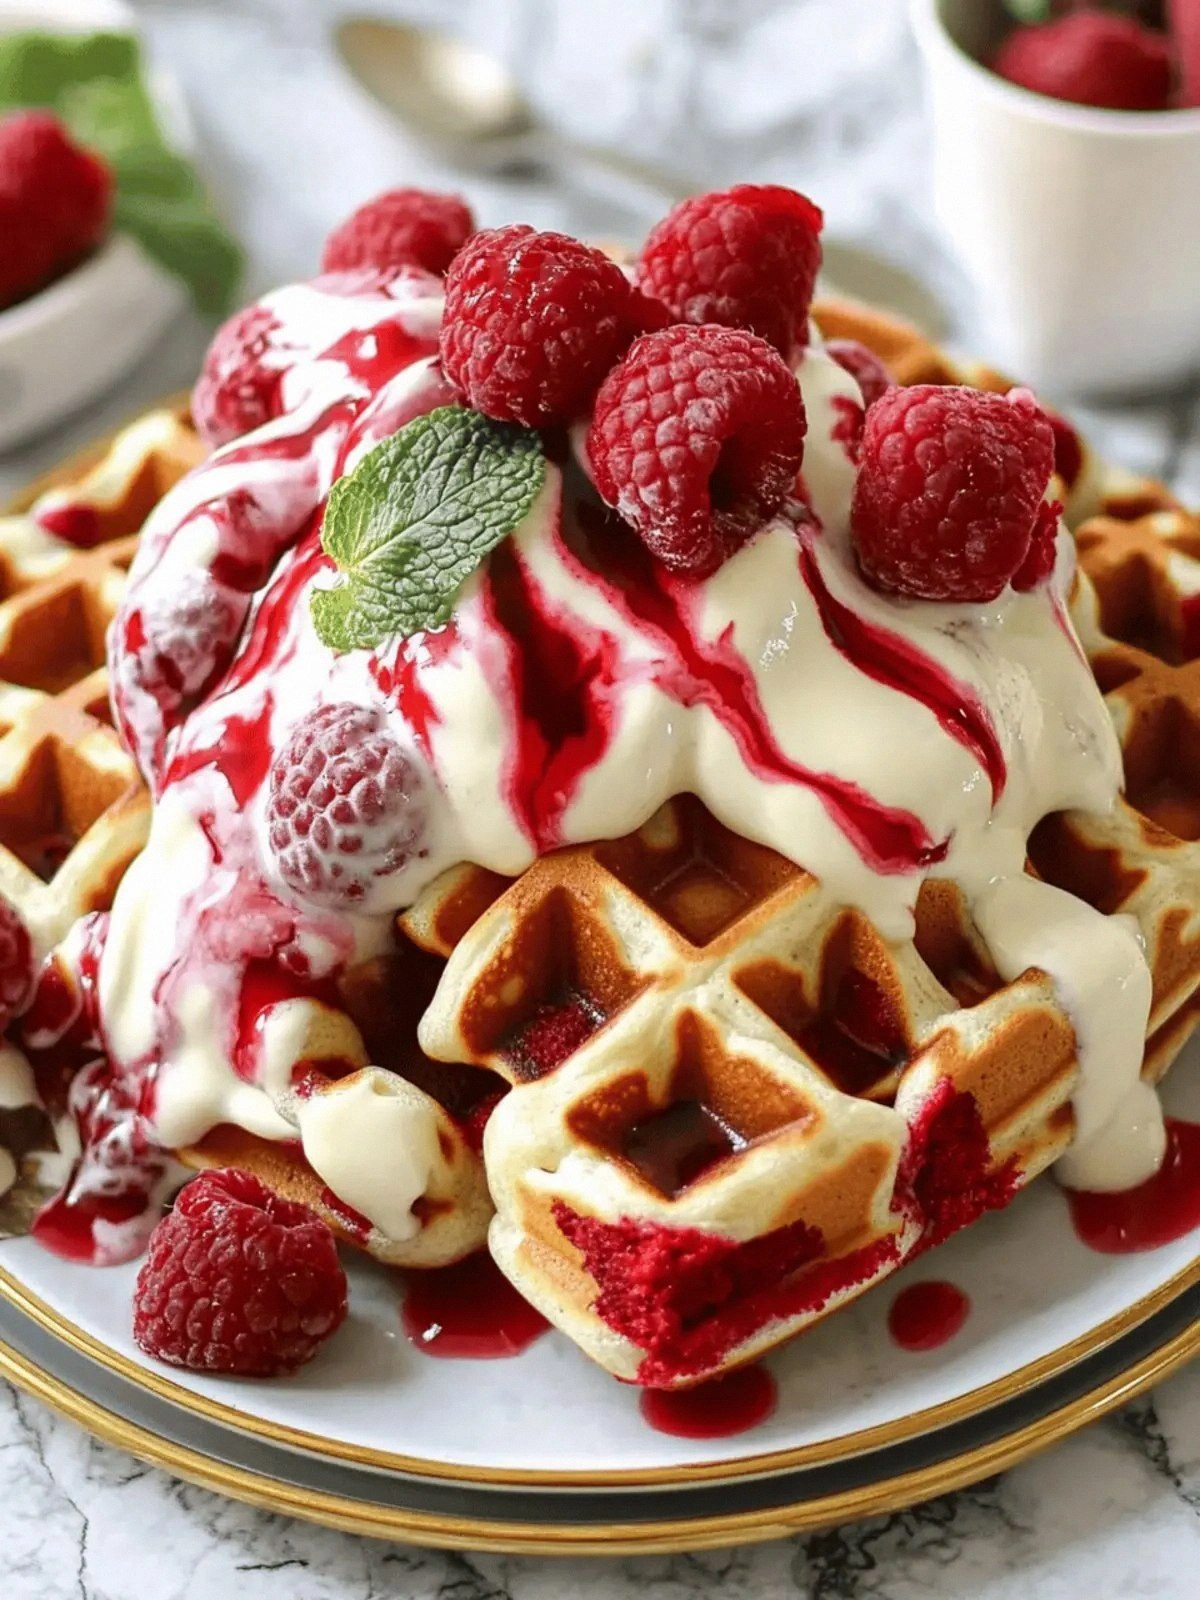
Berry Burst
Top the finished waffles with fresh blueberries, raspberries, or sliced strawberries. The berries’ natural tartness cuts through the sweetness, creating a balanced flavor that’s both refreshing and indulgent. A light dusting of powdered sugar adds a final touch of elegance.
Maple‑Glazed
Replace half of the sugar with pure maple syrup in the batter for a subtle maple flavor that permeates every bite. Finish the waffles with a drizzle of maple syrup and a sprinkle of sea salt for a sweet‑savory harmony that’s hard to resist.
Spiced Caramel
Stir a pinch of cinnamon and a dash of nutmeg into the plain batter before cooking. After baking, drizzle a caramel sauce infused with a touch of sea salt. The spices add warmth and depth, making this variation ideal for a cozy afternoon.
Vegan Delight
Swap the eggs for flaxseed meal mixed with water, and use plant‑based milk instead of buttermilk. Replace the butter with coconut oil. The result is a fluffy, vegan waffle that still captures the red velvet essence.
Storing and Bringing It Back to Life
Fridge Storage
Store cooked waffles in an airtight container in the refrigerator for up to 3 days. The airtight seal prevents moisture from seeping in, keeping the waffles crisp. When you’re ready to eat, simply reheat in a toaster or microwave.
Freezer Friendly
Arrange the waffles on a baking sheet in a single layer and freeze for up to one month. Once frozen, transfer them to a resealable bag. Reheat directly from frozen in a toaster for 2–3 minutes, or in a preheated oven at 350°F for 5 minutes.
Best Reheating Method
The most effective way to revive waffles is to toast them in a toaster or toaster oven. If you prefer the oven, preheat to 350°F and bake for 5 minutes. Add a tiny splash of water to the bottom of the pan to create steam, which helps the waffles steam back to a perfect, airy texture.