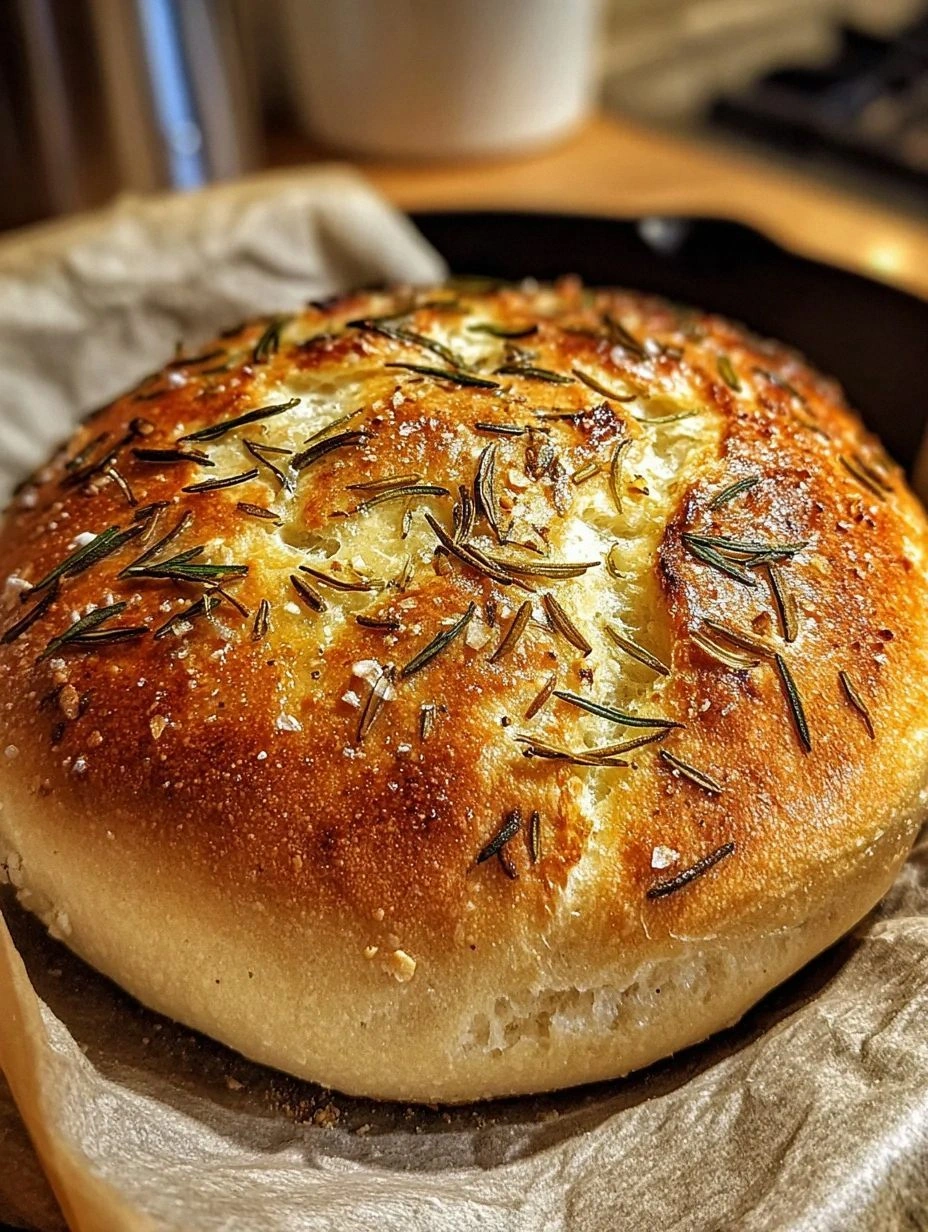
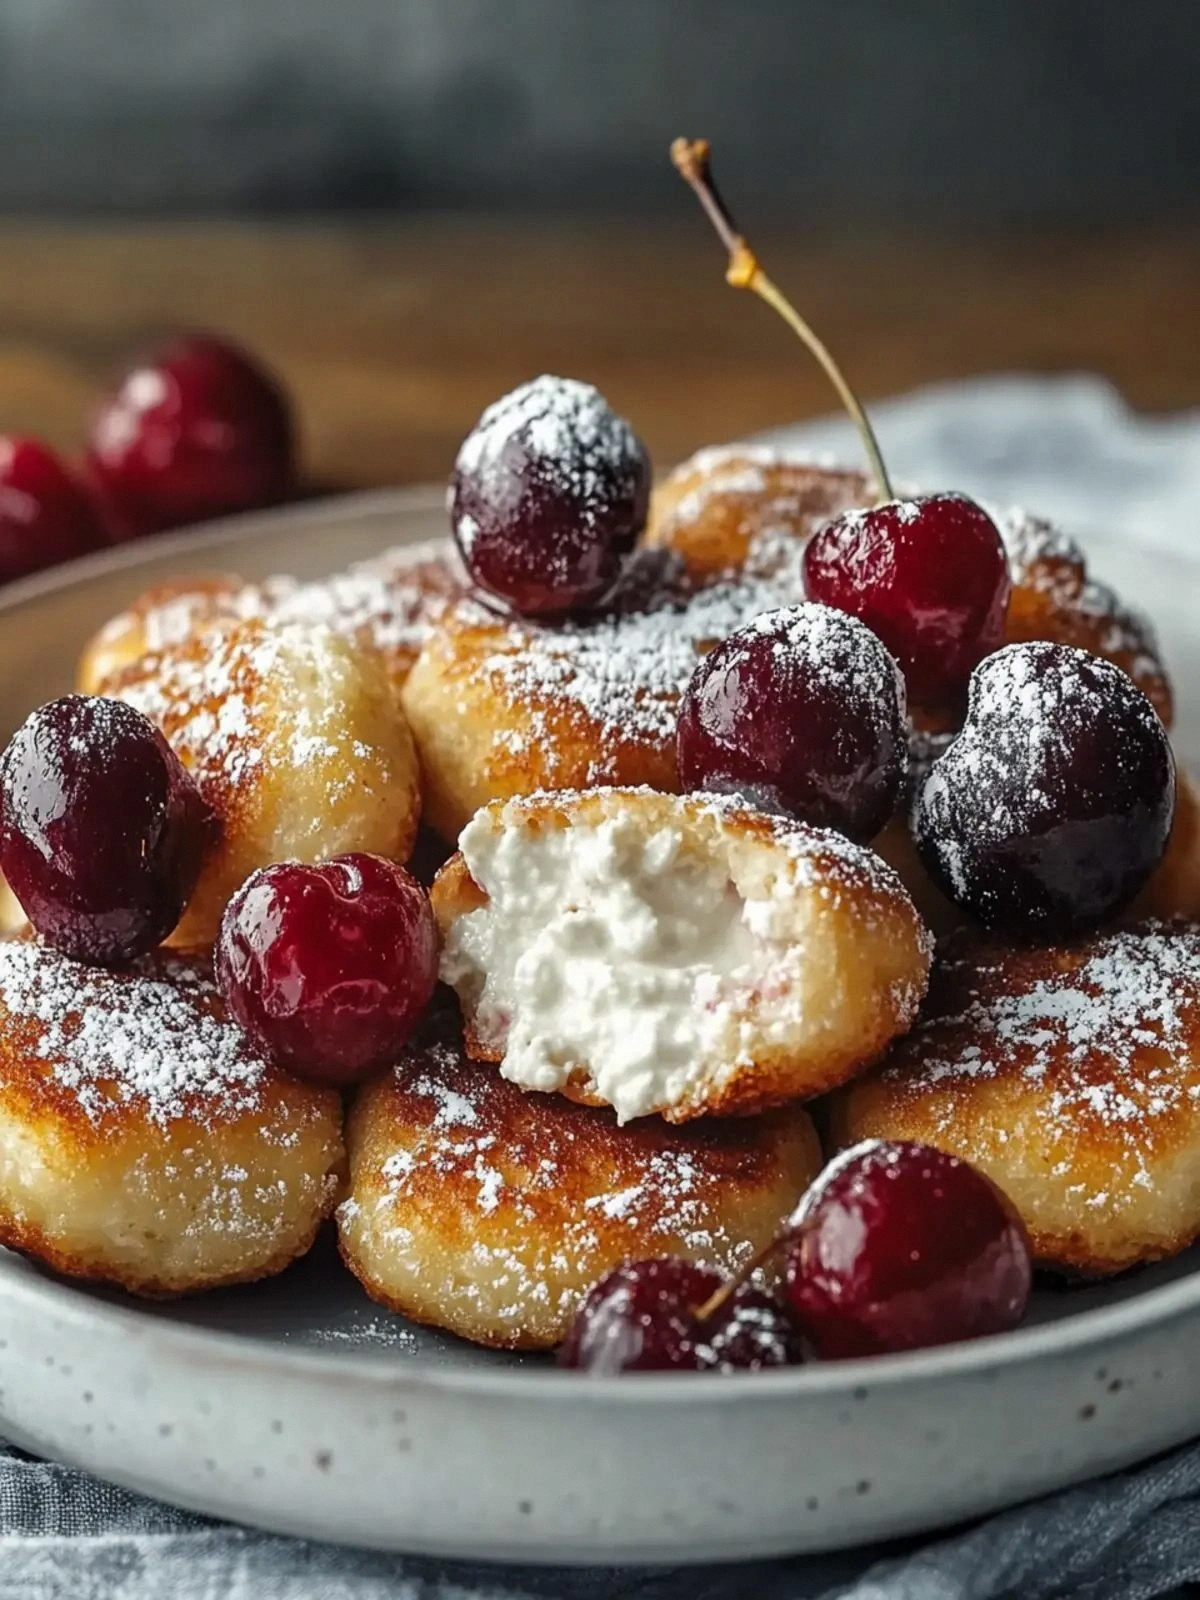
Picture yourself pulling this out of the oven, the whole kitchen smelling incredible, the steam curling in ribbons that look like autumn leaves. I’ll be honest— I ate half the batch before anyone else got to try it. If you’ve ever struggled with this, you’re not alone—and I’ve got the fix. Let me walk you through every single step — by the end, you’ll wonder how you ever made it any other way.
What Makes This Version Stand Out
- Flavor: The combination of tart apples, light brown sugar, and a splash of lemon creates a bright, balanced filling that doesn’t overwhelm the palate.
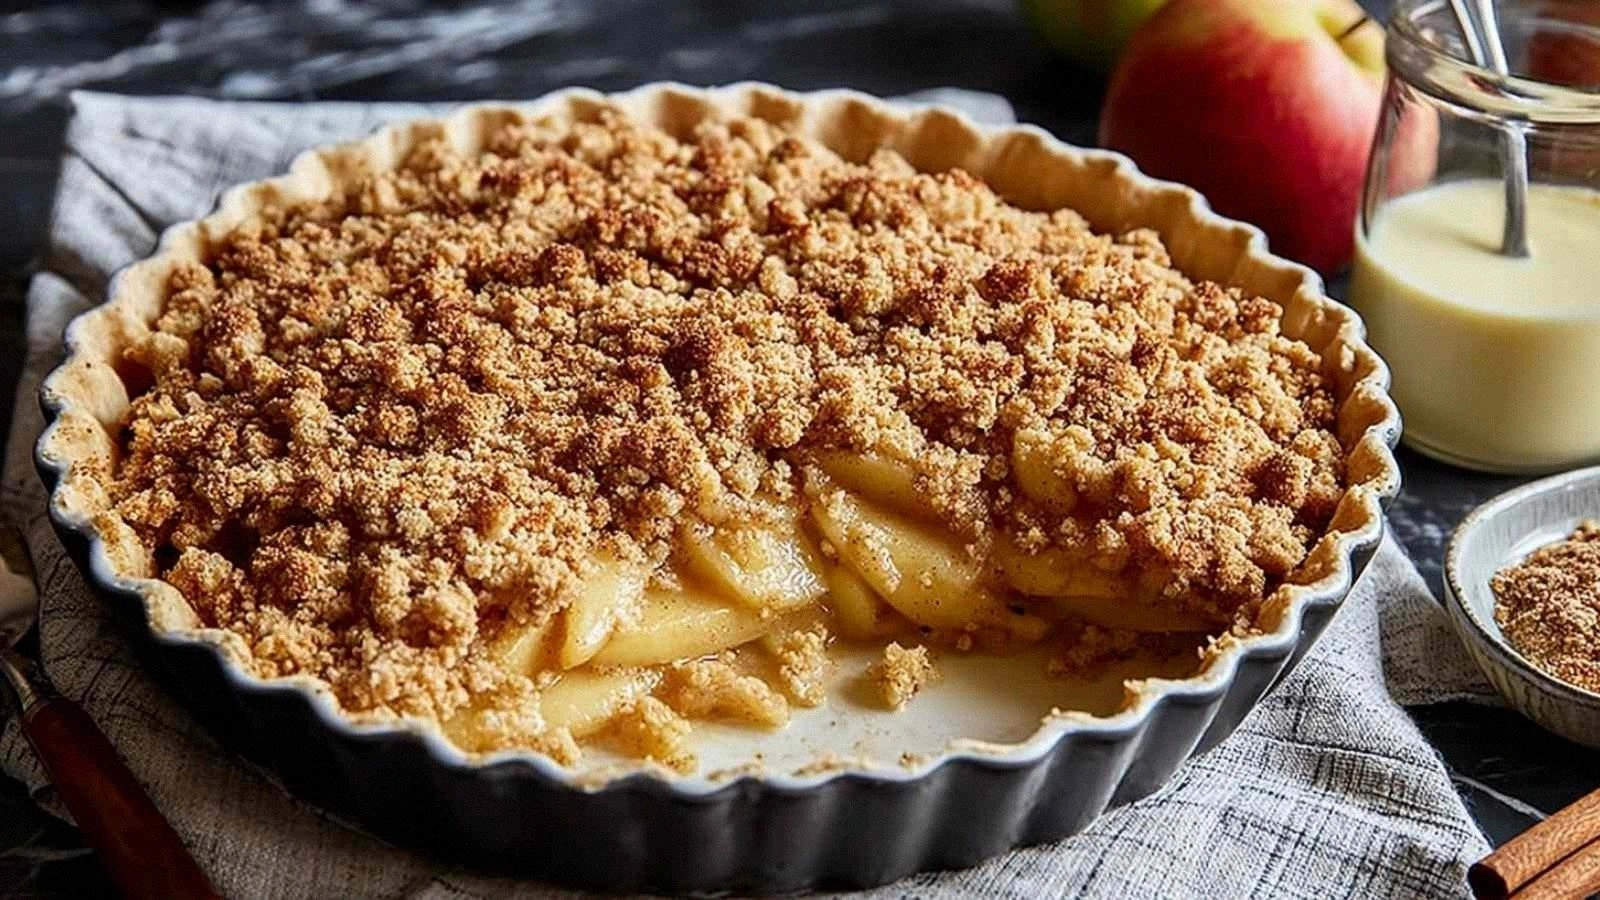
- Texture: The oat‑butter crumble delivers a satisfying crunch that contrasts with the soft, cooked apples, each bite offering a delightful contrast.
- Visual Appeal: The golden crust with flecks of cinnamon and a glossy apple layer gives a professional look that’s Instagram‑ready.
- Ease: No pre‑baked crust required—just line the pan, pour the filling, and top with crumble for a quick, no‑stress dessert.
- Ingredient Quality: Using tart apples (Granny Smith or Honeycrisp) ensures the filling stays firm and flavorful even after baking.
- Make‑Ahead Potential: The pie can be assembled the night before and baked fresh in the morning, saving you precious weekend time.
- Scalability: The recipe scales cleanly, making it perfect for a family gathering or a solo treat.
Inside the Ingredient List
The Flavor Base
The 6 cups of tart apples form the heart of this pie. They provide a sharp, refreshing counterpoint to the sweet crumble, keeping the dessert from becoming syrupy. If you skip the apples, you’ll be left with a flat, buttery topping that lacks depth. Swap for pears or stone fruit for a seasonal twist—just adjust the sugar slightly to keep the balance.
The Sweetener & Spice Crew
2/3 cup of light brown sugar is the sweetener that caramelizes beautifully, giving the filling a glossy sheen. The 2 teaspoons of ground cinnamon and 1/4 teaspoon of nutmeg weave a fragrant tapestry that envelops every bite. If you prefer a milder spice, reduce the nutmeg or omit it entirely—though the subtle warmth it adds is hard to replace. A pinch of sea salt can elevate the flavors further, cutting through the sweetness.
The Unexpected Star
The tablespoon of fresh lemon juice is the secret weapon that brightens the entire pie. It cuts through the richness of the butter and balances the sweetness, ensuring the filling doesn’t taste cloying. If you’re out of lemon, a splash of apple cider vinegar works surprisingly well, but be careful not to add too much.
The Final Flourish
The crumble topping, made from 1 cup of all-purpose flour, 1/2 cup rolled oats, and 1/2 cup unsalted butter, adds a buttery, nutty crunch that’s simply irresistible. The flour provides structure, the oats give texture, and the butter melts into golden pockets of flavor. For a gluten‑free version, replace the flour with oat flour or a gluten‑free blend.
Everything’s prepped? Good. Let’s get into the real action.
The Method — Step by Step
- Preheat your oven to 375°F (190°C). While it’s warming up, line a 9‑inch pie dish with parchment paper, ensuring the paper extends over the edges for easy removal later. This simple step guarantees a clean release and a perfect crust. As the oven heats, you’ll notice the aroma of butter beginning to melt—an early hint of the deliciousness to come.
- In a large mixing bowl, combine the diced apples, brown sugar, cinnamon, nutmeg, and lemon juice. Toss them gently so each apple slice is coated, but avoid overmixing to keep the texture light. The sugar will start to draw out juices, forming a syrupy base that will caramelize as it bakes. This is the moment where the flavors truly begin to mingle.
- Transfer the apple mixture into the prepared pie dish, spreading it evenly. The apples should sit in a single layer, ensuring they cook uniformly. If you notice any excess liquid, gently spoon it back into the bowl to avoid a soggy bottom. This step is crucial for achieving the ideal bite‑size apples.
- In a separate bowl, whisk together the flour, oats, and a pinch of salt. This dry mixture will become the crumble topping once butter is added. Keep the bowl covered until you’re ready to mix in the butter; this prevents the oats from absorbing moisture prematurely.
- Cut the cold butter into small cubes and add them to the dry ingredients. Use a pastry cutter or your fingertips to blend until the mixture resembles coarse crumbs. The butter should be visible in the crumb, ensuring a flaky, buttery texture. This is the point where the mixture starts to look like a sandy beach—ready for the next step.
- Evenly sprinkle the crumble topping over the apples in the pie dish. The topping should be generous, covering the apples almost entirely. The contrast between the golden crumble and the bright apple filling will be a visual treat. As the pie bakes, the butter will melt into the oats, creating a caramelized crust.
- Place the pie in the preheated oven and bake for 35–40 minutes, or until the topping is golden brown and the apples are bubbling. Watch for that unmistakable toasty scent that signals the pie is ready. The edges of the crust will pull away from the parchment, a sign that it’s perfectly cooked.
- Remove the pie from the oven and let it rest on a wire rack for 15 minutes. This resting period allows the juices to set, ensuring each slice holds together. During this time, the crumble will firm up slightly, giving you that satisfying snap with every bite.
- Serve warm, optionally with a scoop of vanilla ice cream or a dollop of whipped cream. The contrast of hot crumble against cold cream is heavenly. This is the moment of truth—taste the symphony of flavors, the crunch, the sweetness, and the citrus lift. That sizzle when it hits the pan? Absolute perfection.
- If you’re not serving immediately, let the pie cool completely before covering it loosely with foil. Store it in the refrigerator for up to 3 days, and it will keep its freshness and texture. For longer storage, freeze the pie for up to two weeks; thaw overnight in the refrigerator before reheating.
That’s it — you did it. But hold on, I’ve got a few more tricks that will take this to another level.
Insider Tricks for Flawless Results
The Temperature Rule Nobody Follows
Most bakers bake at a high temperature and then lower it abruptly, but keeping the oven at a steady 375°F ensures even cooking and prevents the crust from burning. I once tried a 400°F start, and the crumble charred before the apples softened. By sticking to a consistent temperature, the filling stays juicy while the topping turns a beautiful golden brown.
Why Your Nose Knows Best
Before you pull the pie out, sniff the steam—it should smell toasty, like fresh bread. If it smells more like raw butter, the pie needs a few more minutes. Trust your nose; it’s a reliable indicator of doneness that no timer can replace.
The 5-Minute Rest That Changes Everything
Letting the pie rest after baking allows the juices to redistribute, preventing a runny center when you cut into it. I used to cut immediately, and the filling splattered everywhere. A short rest gives you clean, satisfying slices.
Use a Parchment Border for a Clean Release
Extending parchment paper over the edges of the pie dish means you can lift the entire pie in one go, preserving the crumble’s shape. It also prevents the butter from sticking to the pan, which can ruin the texture.
Keep the Crumble Fresh
Store any leftover crumble in an airtight container; it stays crisp for up to a week. If you notice it getting soggy, toss a few oats back in and give it a quick bake at 350°F for 5 minutes to revive the crunch.
Creative Twists and Variations
This recipe is a playground. Here are some of my favorite ways to switch things up:
Maple‑Glazed Apple Crumble
Swap the light brown sugar for maple syrup and add a dash of vanilla extract. The maple gives a deeper, caramelized sweetness that pairs beautifully with the tart apples.
Spiced Chai Crumble
Replace the cinnamon with chai spice blend and add a pinch of cardamom. This gives the pie a warm, aromatic profile that feels like a cozy winter mug of tea.
Nutty Crunch Variation
Add 1/4 cup chopped walnuts or pecans to the crumble topping. The nuts provide a satisfying crunch and a nutty flavor that complements the apple filling.
Chocolate‑Covered Crumble
Drizzle melted dark chocolate over the crumble before baking. The chocolate hardens into a crisp shell that adds a decadent twist.
Berry‑Infused Apple Pie
Mix in a cup of fresh blueberries or raspberries with the apples. The berries add a burst of color and tartness that elevates the dish.
Cheese‑Topped Crumble
Sprinkle a layer of shredded sharp cheddar over the crumble before baking. The cheese melts into a savory crust that balances the sweetness of the apples.
Storing and Bringing It Back to Life
Fridge Storage
Cover the cooled pie loosely with foil and store it in the refrigerator for up to 3 days. The foil prevents the crumble from drying out while keeping the filling moist.
Freezer Friendly
Wrap the pie tightly in plastic wrap, then in foil, and freeze for up to 2 weeks. When ready, thaw in the refrigerator overnight and bake at 375°F for 10 minutes to revive the crispness.
Best Reheating Method
Place a slice on a microwave‑safe plate and heat on medium for 30 seconds. For a crispier top, finish under the broiler for 1 minute. Add a tiny splash of water before reheating to steam the filling back to perfection.