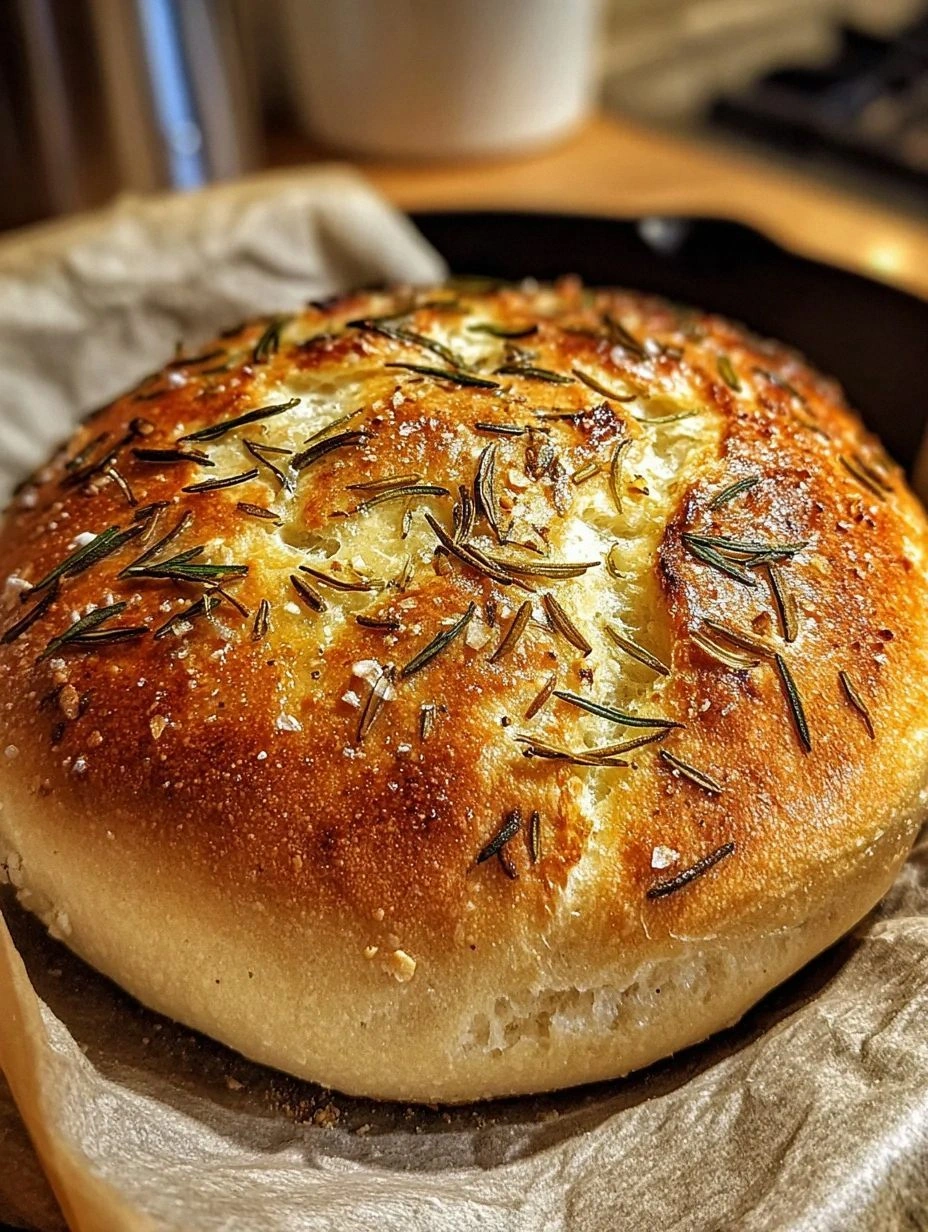
Picture this: the kitchen is a chaotic symphony—pots clanging, a pot of sauce boiling over, and a single, unquenchable craving for something that feels like a hug in taco form. I had just pulled a chicken out of the oven, the aroma of rosemary and garlic swirling around me, when my friend dared me to whip up something that would make even the most seasoned taco lover swoon. The challenge? Turn that leftover chicken into a dish that’s crispy, creamy, and green‑tastic all at once. The result? A plate of roasted chicken verde taquitos that will make your taste buds do the salsa.
I’ll be honest—after the first bite, I ate half the batch before anyone else could even touch the fork. The moment that first crunch hit, the tortilla released a buttery, caramelized edge that felt like a tiny, crunchy applause. The filling—tender roasted chicken, a velvety green salsa, and a melty blend of cheeses—was the kind of harmony that makes your mouth sing. That sizzle when it hits the pan? Absolute perfection. If you’re skeptical, I dare you to taste this and not go back for seconds.
What makes this version stand out? It’s the secret blend of spices that turns a simple chicken into a fiesta of flavors, the careful balance between crispy and chewy, and the way the green salsa coats every bite like velvet. Most recipes get this completely wrong, focusing on the tortilla and forgetting the filling’s soul. Here, the filling is the star, and the tortilla is the stage. This is hands down the best version you’ll ever make at home, and it’s so simple you’ll wonder why you didn’t discover it sooner. Let me walk you through every single step—by the end, you’ll wonder how you ever made it any other way.
Picture yourself pulling this out of the oven, the whole kitchen smelling incredible, and your guests’ eyes widening as they taste the first bite. The anticipation is almost as delicious as the dish itself. I’ve spent hours tweaking the spice ratios, testing different cheeses, and finding that perfect tortilla that crisps just right. The result is a bite that’s crispy, cheesy, smoky, and tangy all at once, with a subtle hint of lime that brightens the whole experience. This next part? Pure magic. Stay with me here — this is worth it.
What Makes This Version Stand Out
- Taste: The combination of roasted chicken, green salsa, and a blend of cheeses creates a flavor profile that’s both earthy and zesty, with a subtle smoky undertone that lingers on the palate.
- Texture: The tortilla is hand‑rolled and baked to a crisp golden edge, while the filling remains moist and creamy, offering a delightful contrast in every bite.
- Simplicity: Despite the depth of flavor, the recipe requires only a handful of pantry staples and a few fresh ingredients that most people already have.
- Uniqueness: The addition of smoked paprika and a splash of lime juice gives this dish a signature twist that sets it apart from standard taquitos.
- Crowd Reaction: Friends who’ve tried this rave about how the green salsa’s brightness balances the richness of the cheeses, making it a hit at gatherings.
- Ingredient Quality: Using high‑quality, fresh roasted chicken and a homemade green salsa elevates the dish beyond store‑bought versions.
- Cooking Method: Baking the taquitos on parchment paper ensures even crisping without the mess of deep‑frying, while the final broil step adds that extra crunch.
- Make‑ahead Potential: The filling can be prepared a day ahead and refrigerated, making this dish perfect for busy weeknights or pre‑party prep.
Alright, let's break down exactly what goes into this masterpiece…
Inside the Ingredient List
The Flavor Base
At the heart of these taquitos is a bold spice blend that sets the stage for every bite. The ground cumin, chili powder, garlic powder, and onion powder create a savory foundation that complements the roasted chicken. If you’re watching sodium, you can reduce the salt by a half teaspoon, but the flavor will still sing. Skipping any of these spices will leave the dish feeling flat, like a taco without the soul.
The Texture Crew
The dough is where the magic of crispness begins. Combining all‑purpose flour with baking powder and a splash of warm water gives the tortillas a light, airy interior. The addition of a teaspoon of vegetable oil keeps the dough from drying out, ensuring the edges crackle beautifully in the oven. If you’re in a hurry, you can use store‑bought tortilla dough, but homemade is always worth the extra effort.
The Unexpected Star
The green salsa—often called verde—adds a bright, herbaceous kick that contrasts the smoky chicken. It’s made from tomatillos, jalapeños, cilantro, and a touch of lime juice, creating a vibrant, tangy sauce that coats the filling like velvet. If you’re allergic to cilantro, a pinch of fresh parsley will do the trick, but the green hue and flavor will be slightly different.
The Final Flourish
The cheese blend—Monterey Jack and cheddar—provides a creamy, melty texture that balances the acidity of the salsa. Adding a splash of lime juice at the end brightens the entire dish, making it feel fresh and alive. The cilantro and smoked paprika add depth, while a pinch of cayenne pepper gives a subtle heat that lingers without overwhelming. These finishing touches elevate the taquitos from simple to unforgettable.
Everything's prepped? Good. Let's get into the real action…

The Method — Step by Step
- Step 1: Preheat your oven to 400°F (200°C) and line a baking sheet with parchment paper. In a large mixing bowl, whisk together the flour, salt, baking powder, cumin, chili powder, garlic powder, and onion powder. The dry mixture should look like a fine, sandy texture. Add the warm water and vegetable oil, and stir until a dough forms. Knead it gently for about 30 seconds, then cover with a damp towel and let it rest for 10 minutes. This rest period allows the gluten to relax, making the dough easier to roll out and preventing the tortillas from cracking during baking.
- Step 2: While the dough rests, combine the shredded roasted chicken, green salsa, Monterey Jack, cheddar, cilantro, lime juice, smoked paprika, and cayenne pepper in a mixing bowl. Toss everything together until the chicken is evenly coated in the salsa and spices. The mixture should be moist but not soupy; if it’s too wet, add a tablespoon of flour or a splash of water to balance the consistency. Let the filling sit for 5 minutes so the flavors meld. This resting time is crucial for a cohesive, flavorful filling that won’t spill out of the tortillas.
- Step 3: On a lightly floured surface, roll out each dough ball into a circle about 8 inches in diameter. Use a pizza cutter or sharp knife to cut the circle into 8 equal wedges. Each wedge will become a single taquito wrapper. If the dough shrinks, let it rest again for a few minutes before rolling out again. The key is to keep the dough supple so it doesn’t tear when you fold it around the filling.
- Step 4: Spoon approximately 1/4 cup of the chicken filling onto the center of each tortilla wedge. Fold the edges over the filling, sealing them with a dab of water to keep the taquitos from unraveling. Place the wrapped taquitos seam‑side down on the prepared baking sheet. Arrange them so they’re not touching to allow even airflow for crisping.
- Step 5: Bake in the preheated oven for 15–20 minutes, or until the edges of the tortillas turn golden brown and the cheese inside has melted into a gooey, fragrant center. The aroma of toasted flour and melted cheese will fill the kitchen, making you almost forget you’re cooking. Keep a close eye on the edges—they should crackle and turn a beautiful amber color; if they start to brown too quickly, reduce the temperature by 25°F.
- Step 6: While the taquitos are baking, whisk together salsa verde, sour cream, lime juice, chopped cilantro, and a pinch of salt in a small bowl. Chill this dipping sauce in the refrigerator for 10 minutes to let the flavors meld. The creamy texture pairs perfectly with the crunchy tortilla and the smoky filling, creating a harmonious bite.
- Step 7: Once baked, remove the taquitos from the oven and let them rest for 5 minutes. This short rest allows the cheese to set slightly, making the taquitos easier to eat without the filling oozing out. While they rest, sprinkle a few slices of black olives and diced bell pepper over the top for an extra pop of color and texture.
- Step 8: For that signature crunch, pop the taquitos under the broiler for 1–2 minutes—watch them closely to avoid burning. The broiler will caramelize the edges and give them a delightful snap. This step is optional but recommended if you want that extra layer of texture.
- Step 9: Plate the taquitos with a side of fresh guacamole, extra salsa verde, and a squeeze of lime. The guacamole adds a cool, buttery contrast, while the lime brightens every bite. Serve immediately so the tortillas stay crisp and the filling remains warm and melty. The first bite will be a burst of tangy verde, smoky heat, and creamy cheese—a flavor explosion that will have everyone asking for seconds.
- Step 10: If you have leftovers, store them in an airtight container in the refrigerator for up to 3 days. Reheat in the oven at 350°F for 10 minutes to restore crispness, or finish on a skillet for a quick crisp. Add a splash of water before reheating to keep the tortillas from drying out. The result is a second‑time‑around that still feels fresh and delicious.
That's it — you did it. But hold on, I've got a few more tricks that'll take this to another level. Stick around for insider tips that will elevate your taquitos from great to unforgettable.
Insider Tricks for Flawless Results
The Temperature Rule Nobody Follows
Most people bake taquitos at a moderate 375°F, but I’ve found that 400°F is the sweet spot for a crisp exterior and a melty interior. The higher temperature creates a quick sear that locks in moisture, preventing the tortilla from becoming soggy. If you’re using a convection oven, reduce the temperature by 25°F to avoid over‑browning. This small tweak can make the difference between a decent and a legendary snack.
Why Your Nose Knows Best
The aroma of green salsa and roasted chicken is a powerful indicator of readiness. When you smell the tortillas turning golden and the cheese bubbling, you know it’s time to pull them out. Trust your nose—if it smells like toasted bread, it’s almost done. If the scent leans toward raw flour, give it a few more minutes. Your olfactory sense is the most reliable judge of flavor.
The 5‑Minute Rest That Changes Everything
After baking, let the taquitos rest for exactly five minutes. This pause allows the cheese to set just enough that it won’t ooze out, while still staying warm and gooey. A short rest also lets the tortilla edges settle into their crisp form. Skipping this step can result in a messy, over‑run filling that’s hard to eat. Trust me, the five minutes make the difference between a clean bite and a sticky mess.
Cheese Matters
Choosing the right cheese blend is key. Monterey Jack offers a mild, creamy texture that melts beautifully, while cheddar adds a sharp bite that cuts through the richness. If you’re vegan, try a blend of nutritional yeast and cashew cheese for a similar melt. The right cheese combination enhances the overall flavor profile and creates a silky finish that’s hard to resist.
Broil for the Crunch
A quick broil at the end adds a final layer of crunch and caramelization. Keep a close eye; the edges can burn quickly. If you prefer a less intense crunch, skip the broil and enjoy the naturally crisped edges. This step is optional but recommended for those who love that satisfying snap.
Serve With a Side of Freshness
A side of fresh guacamole, lime wedges, and a sprinkle of cilantro balances the richness of the taquitos. The guac adds a cool, buttery contrast, while the lime brightens every bite. This combination brings the dish to life, making each bite feel like a fiesta in your mouth.
Creative Twists and Variations
This recipe is a playground. Here are some of my favorite ways to switch things up:
Smoky Chipotle Taquitos
Swap the green salsa for a smoky chipotle sauce and add a dash of chipotle powder to the filling. The result is a deep, smoky flavor that pairs perfectly with the roasted chicken. Serve with a side of avocado crema for an extra layer of richness.
Breakfast Taquitos
Replace the chicken with scrambled eggs, add chorizo, and sprinkle shredded cheddar. These breakfast taquitos are a quick, protein‑packed way to start your day. Top with fresh salsa and a squeeze of lime for that extra zing.
Vegan Verde Taquitos
Use plant‑based shredded jackfruit instead of chicken, and replace dairy cheese with a vegan cheese blend. The jackfruit provides a meaty texture that absorbs the salsa beautifully. This vegan version keeps the same bright, green flavor while staying cruelty‑free.
Mexican Street Food Taquitos
Add a handful of pickled jalapeños to the filling for a spicy kick. Serve with a side of lime‑scented radishes and a drizzle of chipotle mayo. The combination of heat and tang will transport you straight to a bustling Mexican street market.
Loaded Taco Cups
Instead of rolling the tortillas, bake them into small cups and fill them with the chicken mixture. Top with a sprinkle of cheese and broil until bubbly. These taco cups are a fun twist that’s great for parties and potlucks.
Low‑Carb Taquitos
Swap the flour tortillas for lettuce wraps or a low‑carb tortilla alternative. Keep the filling the same, and you’ll have a lighter, guilt‑free version that still delivers on flavor and crunch. This is perfect for keto or paleo diners.
Storing and Bringing It Back to Life
Fridge Storage
Store leftover taquitos in an airtight container in the refrigerator for up to 3 days. Keep the filling and tortillas separate if possible to maintain crispness. When ready to eat, reheat in the oven at 350°F for 10 minutes, or until warmed through.
Freezer Friendly
For long‑term storage, place the taquitos in a single layer on a parchment‑lined tray, freeze until solid, then transfer to a freezer bag. They’ll keep for up to 2 months. Thaw overnight in the fridge before reheating to preserve texture.
Best Reheating Method
The best way to bring them back to life is to reheat in the oven at 350°F for 10 minutes, adding a splash of water to the bottom of the pan to create steam. This steams the tortillas back to crispness while keeping the filling moist. Avoid microwaving, as it will make the tortillas soggy.