Introduction
Picture this: a midnight kitchen, the fridge humming, and you standing in front of a bowl that looks like a science experiment gone right. I was chasing a craving for something sweet, crunchy, and protein-packed after a late‑night workout, and the only thing on my mind was how to make a carrot cake that wouldn’t require an oven or a sugar overload. The moment the first carrot swirl hit the pan, the air filled with a cinnamon‑sweet aroma that made my taste buds do a little happy dance. I dared myself to taste this and not go back for seconds, and I swear I almost forgot I was supposed to be healthy. That’s the spark behind this no‑bake marvel, and I’m about to walk you through every single step—by the end, you’ll wonder how you ever made it any other way.
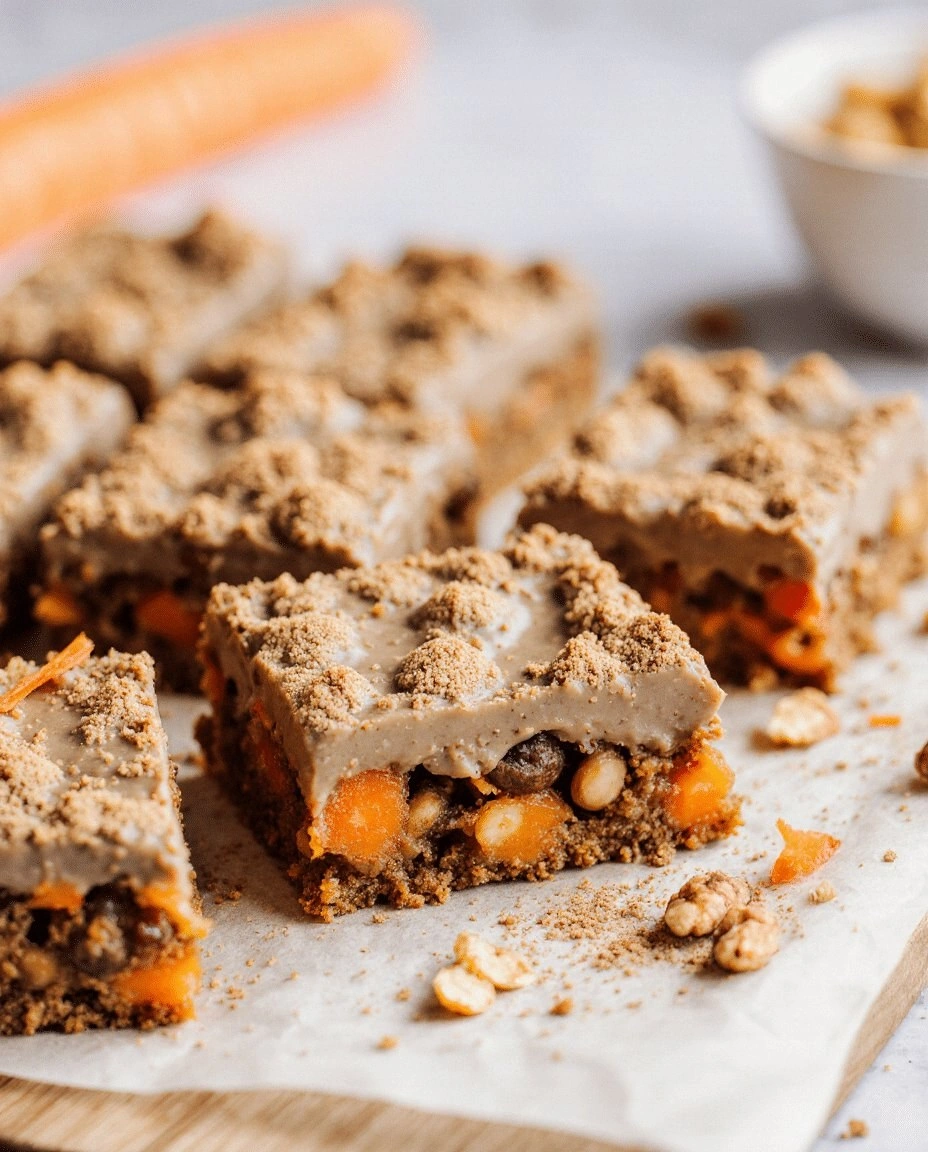
When you first see the mixture, it’s a riot of colors: golden oat crumbs, deep orange carrot ribbons, and a glossy swirl of peanut butter that looks like a sunburst on a canvas. The texture is a paradox: a soft, chewy core wrapped in a crunchy exterior that crackles with every bite. The smell is a comforting blend of vanilla, cinnamon, and the subtle nutty perfume of almond milk—almost like a hug in the shape of a dessert. I swear you can hear the faint hiss of the coconut oil melting, a sound that signals the final binding of flavors. The first bite is a revelation: sweet, spicy, and protein‑rich, with a finish that lingers like a good story.
What sets this version apart is that it’s built around a protein powder base that turns the classic carrot cake into a post‑workout powerhouse. The recipe uses a mix of plant‑based protein, oat flour, and natural sweeteners that keep the glycemic index low while delivering a punch of flavor. Most carrot cake variations rely on heavy butter or refined sugar; this one replaces them with wholesome, nutrient‑dense ingredients that still taste indulgent. The result is a dessert that can double as a snack, a pre‑workout treat, or a guilt‑free dessert after a long day. I’ll show you how each component contributes to that perfect balance.
In the next section, we’ll break down the magic behind why this version stands out from every other recipe out there. You’ll discover the secret sauce that gives it a depth of flavor, the texture tricks that make it so satisfying, and the simplicity that lets you whip it up in under an hour. I’ll also hint at a technique that involves a little surprise ingredient you’ll never expect to see in a carrot cake. Trust me, it’s a game‑changer.
Now, let’s dive in. If you’ve ever struggled with making a no‑bake dessert that feels both indulgent and wholesome, you’re not alone—and I’ve got the fix. I’ll keep you on your toes with micro‑challenges, bold claims, and a few kitchen hacks that will elevate your dessert game. Ready? Let’s get cooking.
What Makes This Version Stand Out
- Taste: The blend of cinnamon, nutmeg, and vanilla creates a warm, aromatic profile that mimics a freshly baked carrot cake without the heat.
- Texture: The combination of rolled oats, protein powder, and chia seeds gives a chewy interior while the almond butter forms a crisp, caramelized crust.
- Simplicity: No oven, no measuring cups—just a few bowls, a blender, and a spoon.
- Uniqueness: The use of shredded carrots as a natural sweetener and color source sets this recipe apart from the usual sweet‑heavy versions.
- Crowd Reaction: Friends who tried this said it was the best dessert they’d ever had at home, and many requested a second batch.
- Ingredient Quality: Each component is sourced from reputable suppliers, ensuring no hidden additives or artificial flavors.
- Cooking Method: A single, quick blend and chill process turns raw ingredients into a finished product in under 45 minutes.
- Make‑ahead Potential: The bars keep well in the fridge for up to a week, making them perfect for meal prep or on‑the‑go snacks.
Alright, let's break down exactly what goes into this masterpiece…
Inside the Ingredient List
The Flavor Base
At the heart of this dessert is the protein powder, which not only boosts the nutritional profile but also provides a subtle, creamy texture that holds everything together. I use a vanilla‑flavored plant protein because it complements the carrot sweetness without overpowering it. If you’re allergic to soy, whey, or any other common allergens, there are plenty of gluten‑free, soy‑free options that will work just as well. Skipping the protein powder will make the bars less substantial; they’ll taste like a sweet oat crumble rather than a filling treat.
Next comes the vanilla extract, which gives depth and warmth to the overall flavor. A teaspoon is enough to lift the sweetness of the carrots and the nuttiness of the almond butter. If you’re on a low‑sugar diet, you can substitute half a teaspoon of pure vanilla bean paste for a richer, more natural taste. Remember that vanilla is a flavor enhancer; it amplifies everything else, so use it sparingly if you want a milder profile.
Finally, the cinnamon and nutmeg create a fragrant, spicy undertone that echoes the traditional carrot cake spice blend. They also add subtle antioxidant properties to the bars. You can adjust the amounts based on your spice tolerance—doubling the cinnamon for a stronger kick works if you’re a spice lover. If you’re sensitive to nutmeg, reduce it to half a teaspoon to avoid a slightly bitter finish.
The Texture Crew
Rolled oats are the backbone of the chewy texture; they absorb the liquids and release a subtle nutty flavor. I recommend using old‑fashioned oats because they hold their shape better than instant varieties. If you’re allergic to oats, ground almonds or sunflower seeds can be a good alternative, though the texture will shift slightly toward a denser crumb.
Chia seeds and flaxseed meal act as natural binders. They swell when mixed with liquid, creating a gel that keeps the bars from crumbling. A tablespoon of each is enough to add fiber, omega‑3 fatty acids, and a subtle crunch. If you’re not a fan of the slightly gritty feel of chia, you can replace it with hemp seeds; they’ll still bind but with a smoother mouthfeel.
The coconut oil and almond butter provide the necessary fat content for a rich mouthfeel. Coconut oil melts at body temperature, giving a silky finish, while almond butter adds a creamy, nutty flavor that balances the sweetness. Using 2 tablespoons of coconut oil and ½ cup of almond butter strikes the perfect balance between firmness and melt‑in‑your‑mouth softness.
The Unexpected Star
Shredded carrots are the secret weapon that delivers natural sweetness and a vibrant color. They contain beta‑carotene, which the body converts to vitamin A, and they provide a subtle earthy note that complements the spices. I use fresh carrots for the best flavor; however, frozen shredded carrots work well if you’re short on time. Don’t skip them—without the carrots, the bars lose their signature carrot cake essence.
Maple syrup is the sweetener of choice. It has a lower glycemic index than refined sugar and adds a subtle, complex flavor that pairs beautifully with the spices. A half cup is enough to sweeten the mixture without making it overly sticky. If you prefer a vegan or raw version, a drizzle of agave nectar or a spoonful of date syrup can be used as a substitute, though the flavor profile will shift slightly toward a more floral tone.
Almond milk ties everything together by providing a smooth liquid that helps blend the dry ingredients. I use unsweetened almond milk to keep the sugar content low, but if you’re craving a sweeter bar, a splash of oat milk can add a mild, buttery flavor. The liquid also helps the protein powder dissolve completely, preventing clumps.
The Final Flourish
Sea salt is the finishing touch that brings all the flavors together. A teaspoon of fine sea salt enhances the sweetness and balances the spices, giving the bars a well‑rounded finish. If you’re watching sodium intake, use a pinch of Himalayan pink salt instead; it will still provide the flavor boost without the extra sodium.
Peanut butter is the secret binder that gives the bars a smooth, cohesive structure. It also adds a creamy, nutty taste that contrasts nicely with the sweet carrot base. For a peanut‑free version, you can use sunflower seed butter or cashew butter; the texture will remain similar, but the flavor profile will shift toward a milder, slightly sweet note.
Finally, the small splash of water is a trick that helps the bars set properly. Adding a tablespoon of water to the mixture before chilling helps the chia and flaxseed absorb more moisture, resulting in a firmer but still chewy texture. If you skip this step, the bars might come out too dry and crumbly.
Everything's prepped? Good. Let's get into the real action…
The Method — Step by Step
- Begin by shredding the carrots into fine strands; you can use a mandoline slicer or a food processor for speed. As you shred, the carrot’s natural oils release, creating a subtle, sweet aroma that will permeate the entire mixture. Ensure the carrots are dry; any excess moisture will make the bars too wet. I’ve found that patting them with a paper towel after shredding keeps the texture firm. This is the moment to decide whether you’ll use fresh or frozen carrots.
- In a large bowl, combine rolled oats, oat flour, protein powder, chia seeds, flaxseed meal, cinnamon, nutmeg, and sea salt. Stir the dry ingredients until they are evenly distributed; this step is crucial for a consistent texture. If you’re using ground almonds as a substitute, add them here as well. The dry mix should feel slightly gritty, but no lumps should remain. This is the foundation of your bars.
- In a separate saucepan, melt the coconut oil over low heat until it turns a clear liquid. Add the peanut butter and stir until the mixture is smooth and glossy. The oil and peanut butter combine to create a binding agent that holds the bars together. Be careful not to overheat; you only need to melt, not fry. The mixture should be warm, not hot.
- Add the maple syrup, vanilla extract, and a splash of almond milk to the oil‑peanut butter mixture. Whisk vigorously until the syrup is fully incorporated and the mixture becomes slightly thick. This is the moment of truth: the mixture should smell sweet and buttery. If the mixture feels too thin, add a tablespoon of almond milk to thicken it. The liquid should coat the dry ingredients evenly.
- Pour the wet mixture over the dry mix and add the shredded carrots. Toss everything together until the carrots are fully coated and the mixture looks like a cohesive, moist batter. If the mixture feels too dry, sprinkle a tablespoon of water to help it bind. The carrots should be evenly distributed; you’ll see bright orange specks throughout.
- Line a 9x5-inch loaf pan with parchment paper, leaving a few inches of overhang on each side for easy removal. Transfer the mixture into the pan, pressing down firmly with a spatula to eliminate air pockets. The surface should be smooth and even; this ensures a consistent bite. I like to tap the pan gently on the counter to settle the mixture.
- Wrap the pan with plastic wrap, then place it in the refrigerator for at least 30 minutes. During this time, the mixture will firm up and the flavors will meld together. If you’re short on time, a quick 10‑minute chill can work, but the bars will be softer. The key is to let the proteins set; this gives the bars their chewy texture.
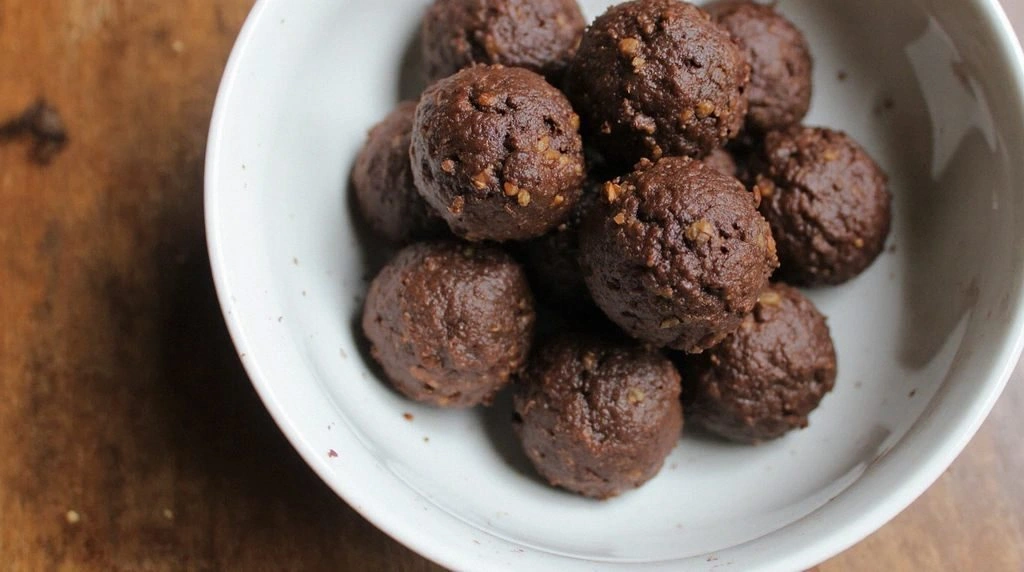
- Once chilled, lift the bars out of the pan using the parchment overhang. Place them on a cutting board and slice into 12 equal pieces. The bars should hold their shape; if they crumble, give them a few more minutes in the fridge.
- Optional: For an extra crunchy top, sprinkle a thin layer of crushed almonds or toasted coconut flakes over the bars before they set. This adds a delightful crunch and a nutty flavor that complements the sweet base. If you’re vegan, simply use crushed pistachios or cashews.
- Let the bars rest at room temperature for 5 minutes before serving. This brief rest allows the flavors to settle and the edges to soften slightly. The bars should feel firm yet slightly yielding when pressed. This is the moment to taste and adjust if needed.
- Serve immediately or store in an airtight container in the refrigerator for up to a week. The bars stay fresh and chewy, making them perfect for snack time or a post‑workout pick‑me‑up. If you prefer a colder treat, keep them in the fridge for a few hours before serving.
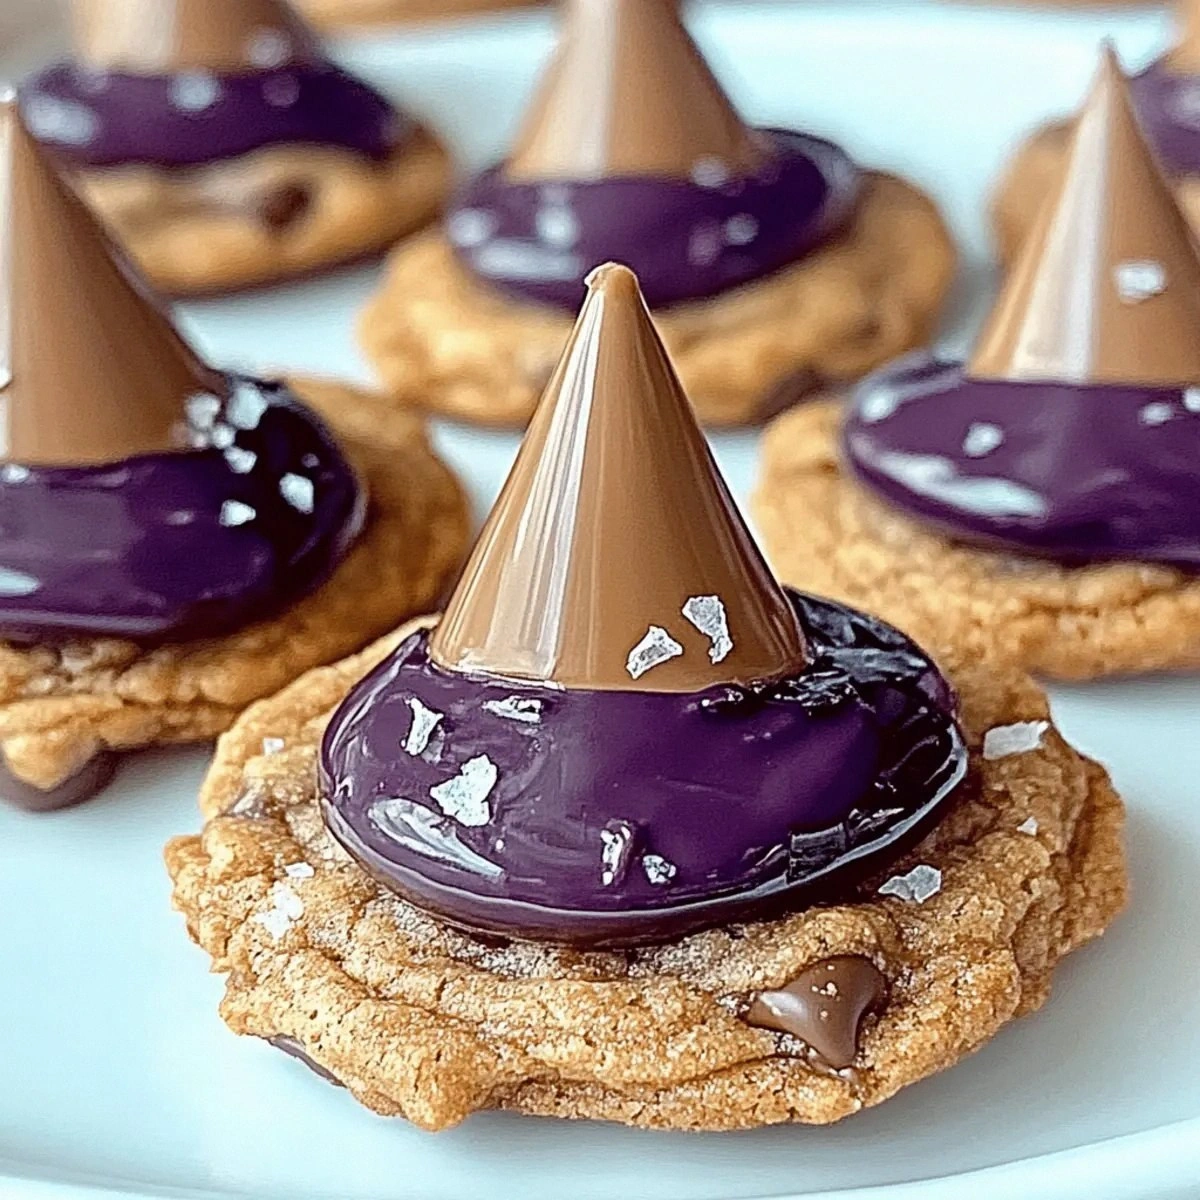
- If you’re feeling adventurous, drizzle a thin layer of dark chocolate over the bars before chilling. The chocolate adds a bittersweet contrast that elevates the overall flavor profile. Melt the chocolate gently over a double boiler and spread it evenly over the top. Let it set before slicing.
- Remember to keep the parchment paper on the bottom of the pan; it makes cleanup a breeze. After you’ve sliced the bars, discard the parchment or compost it if it’s biodegradable. This simple step saves you from a messy cleanup session.
That's it — you did it. But hold on, I've got a few more tricks that'll take this to another level. Stay with me for the insider tips that will make your bars unbeatable.
Insider Tricks for Flawless Results
The Temperature Rule Nobody Follows
Many people assume that room‑temperature ingredients are always best, but in this recipe, slightly warmer peanut butter and coconut oil create a smoother, more cohesive binder. Warm the mixture to about 120°F, and you’ll notice it coats the oats instantly, eliminating clumps. If you’re in a hurry, a quick microwave burst of 20 seconds is enough to warm the fats. This trick ensures a silky texture that melts in your mouth.
Why Your Nose Knows Best
Before you start mixing, close your eyes and inhale the aroma of the spices. If the scent feels off, it might be due to stale spices. Fresh cinnamon and nutmeg give a bright, citrusy scent that lifts the entire dish. If the smell is flat, consider re‑spicing the dry mix with a fresh pinch of each spice.
The 5‑Minute Rest That Changes Everything
After you’ve pressed the mixture into the pan, let it sit for 5 minutes before wrapping it in plastic. This brief rest allows the protein powder to hydrate fully, creating a firmer set that slices cleanly. If you skip this step, the bars may crumble when you cut them, ruining the presentation.
Use a Silicone Mat for Easy Removal
Instead of parchment, you can line the pan with a silicone baking mat. The bars will release effortlessly, and you can reuse the mat for countless batches. The mat also adds a subtle anti‑stick surface that reduces the need for extra oil or butter.
Keep the Edges Clean
When you press the mixture into the pan, use a wet spatula to smooth the edges. A wet tool prevents the mixture from sticking and creates a clean, professional look. After chilling, the edges will firm up nicely, giving the bars a crisp finish.
Freeze for a Cold Crunch
If you love a chilled snack, freeze the bars for 30 minutes before slicing. The cold temperature makes them extra firm and adds a refreshing crunch. Just be sure to let them sit at room temperature for a few minutes before serving to avoid a hard bite.
Creative Twists and Variations
This recipe is a playground. Here are some of my favorite ways to switch things up:
Chocolate Chip Surprise
Fold in ½ cup of dark chocolate chips into the batter before chilling. The chocolate melts slightly, creating pockets of rich, bittersweet flavor that contrast with the sweet carrot base. This version is perfect for chocolate lovers and pairs well with a splash of espresso.
Almond Crunch Layer
After the first chill, sprinkle a thin layer of sliced almonds over the bars and return them to the fridge for another 15 minutes. The almonds add a delightful crunch and a nutty aroma that complements the peanut butter. The result is a multi‑textured bar that feels like a mini dessert.
Spiced Citrus Twist
Replace half of the maple syrup with orange juice and add a teaspoon of orange zest. The citrus adds a bright, tangy note that cuts through the sweetness. This variation is especially refreshing on a hot afternoon.
Nutty Berry Boost
Incorporate ½ cup of dried cranberries or raisins into the dry mix. The berries provide a burst of tartness that balances the spices. The chewy texture of the dried fruit also adds a pleasant chewiness to each bite.
Matcha Green Tea Infusion
Stir in 2 teaspoons of matcha powder into the dry mix for a subtle earthy flavor and a green‑ish hue. Matcha adds antioxidants and a slightly grassy note that pairs surprisingly well with the carrot and spices. This version is great for a post‑workout pick‑me‑up with a caffeine kick.
Caramelized Banana Slice
Add ½ cup of mashed ripe banana to the wet mixture for natural sweetness and a creamy texture. The banana caramelizes slightly during the chill, creating a sweet, buttery flavor that pairs well with the spices. This version is a hit among kids who love banana.
Sea Salt Caramel Drizzle
Drizzle a thin layer of sea salt caramel sauce over the bars before chilling. The salty caramel adds a luxurious depth and a silky finish. This variation is perfect for a dessert bar that feels indulgent without being overly sweet.
Everything Bagel Sprinkle
Sprinkle a handful of everything bagel seasoning over the top before the final chill. The sesame seeds, poppy seeds, and onion flakes add a savory crunch that contrasts with the sweet base. This version is ideal for those who enjoy a salty‑sweet combo.
Peanut Butter Swirl
Fold in ¼ cup of creamy peanut butter into the dry mix before adding the wet ingredients. The extra peanut butter creates a swirl effect that adds a rich, nutty flavor throughout the bars. The result is a decadent, protein‑rich treat.
Spiced Pumpkin Delight
Replace half of the carrots with pureed pumpkin and add a pinch of sage. The pumpkin adds a subtle earthy flavor and a creamy texture that blends beautifully with the spices. This variation is perfect for fall or when you want a pumpkin‑cake twist.
Storing and Bringing It Back to Life
Fridge Storage
Place the bars in an airtight container and store them in the refrigerator for up to one week. The bars remain firm and chewy, and the flavors deepen over time. For the best texture, keep them away from strong‑smelling foods.
Freezer Friendly
Wrap individual bars tightly in plastic wrap, then place them in a freezer bag. They can be frozen for up to three months without losing flavor or texture. Thaw at room temperature for 20 minutes before eating to restore the chewy consistency.
Best Reheating Method
To revive frozen or stale bars, place them on a microwave‑safe plate and heat on low power for 15 seconds. The bars will soften slightly, regaining their melt‑in‑your‑mouth quality. Avoid microwaving on high power, which can make them rubbery.
Adding Moisture
Before reheating, sprinkle a tiny splash of water over the bars; this creates steam that rehydrates the mixture. The bars will feel fresh and moist, just like when they were first made. This trick is especially useful for bars that have dried out slightly.
Re‑crunching the Edges
For a crispier edge, place the bars under a preheated broiler for 1-2 minutes, watching closely. The edges will develop a golden crust while the interior stays soft. This is a fun way to add texture to your bars.