Picture this: I’m in the middle of a midnight snack binge, the kitchen lights flickering like a disco, and a half‑finished batch of store‑bought pop tarts sits on the counter. I open the box, inhale the sweet, sugary aroma, and a sudden realization hits—why settle for pre‑made when you can make the best version at home? I’m talking about a crust that cracks like a sunrise, a filling that bursts like a fireworks show, and a glaze that gives a glossy finish that makes your eyes water in delight. This isn’t just a recipe; it’s a culinary revolution that turns an ordinary snack into an unforgettable experience. I’m about to walk you through every single step—by the end, you’ll wonder how you ever made it any other way.
When I first tried my hand at homemade pop tarts, the dough was a sticky, unruly mess that threatened to ruin the whole project. The dough didn’t rise, the edges were soggy, and the filling leaked like a broken promise. I had to admit defeat, but a friend dared me to taste this and not go back for seconds. That dare lit a spark in me, and I set out to craft a version that would not only beat the store‑made but also become the go‑to snack for every kitchen. The result? A buttery, flaky crust that crisps to golden perfection, a fruit jam that’s sweet yet tart, and a powdered sugar glaze that’s glossy, airy, and not overly sweet. If you’ve ever struggled with pop tarts that fall flat, you’re not alone—and I’ve got the fix.
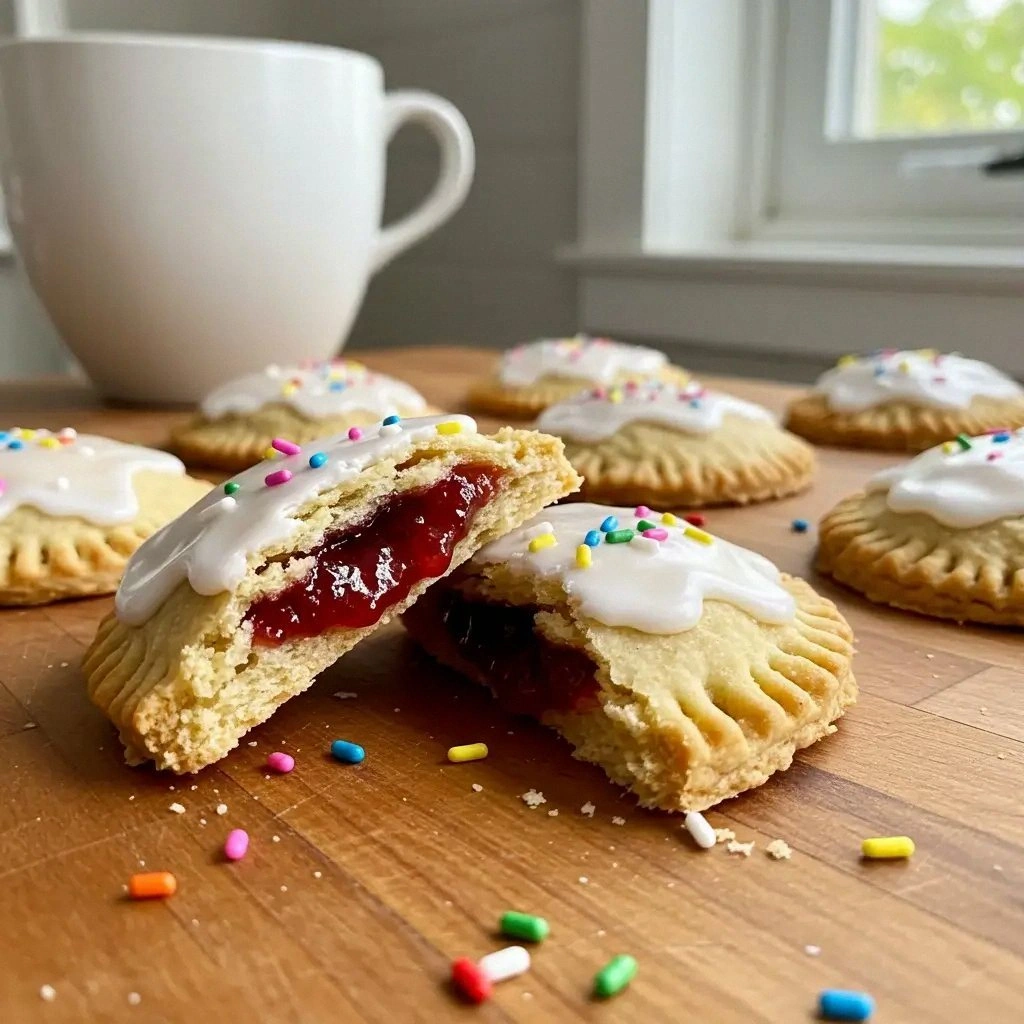
The secret to this recipe’s triumph lies in a few simple yet powerful twists. First, I use cold butter that’s diced into the flour before it’s even mixed—this creates pockets of steam that puff the crust to airy lightness. Second, I fold in a splash of lemon zest into the filling to cut the sweetness and add a bright, citrusy punch. Third, I bake the tarts at a slightly higher temperature for the first half of the bake, then lower it to finish—this technique ensures the crust is crisp on the outside while staying tender inside. Fourth, I brush the tops with melted butter before glazing, which gives the glaze a beautiful shine and a subtle buttery aftertaste. Finally, I let the tarts cool completely before glazing; this prevents the glaze from melting and keeps the edges crisp. With these tricks, you’ll have a snack that’s crispy, juicy, and utterly addictive.
I dare you to taste this and not go back for seconds. Picture yourself pulling these out of the oven, the whole kitchen smelling incredible, the first bite sending a wave of buttery, fruity joy across your palate. This is hands down the best version you’ll ever make at home. If you’ve ever struggled with pop tarts that fall flat, you’re not alone—and I’ve got the fix. Stay with me here—this is worth it.
What Makes This Version Stand Out
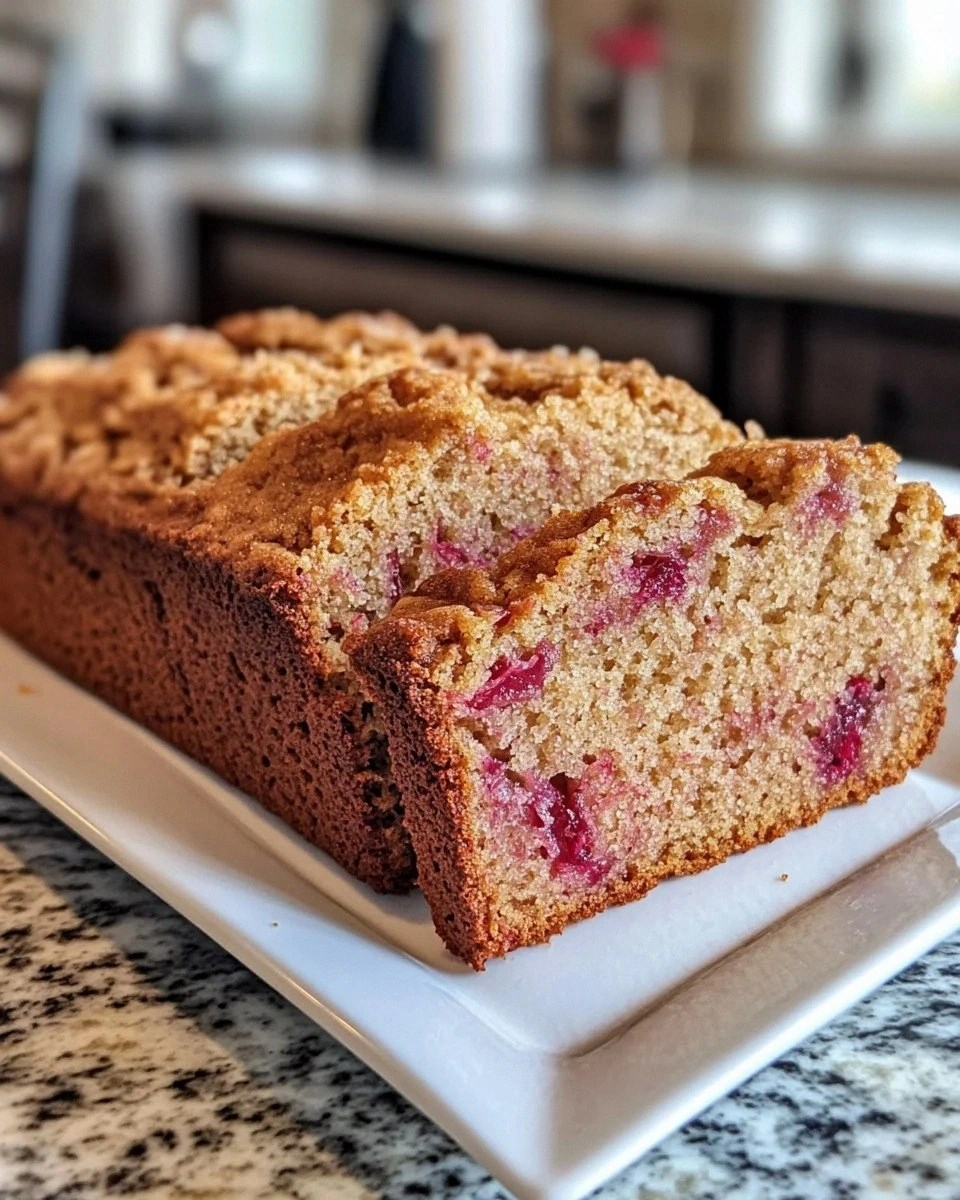
- Flaky Crust: The cold butter and precise baking temperature create a light, flaky crust that’s far superior to the dense, commercial alternative.
- Balanced Sweetness: Lemon zest in the filling cuts through the jam’s natural sweetness, delivering a crisp, refreshing bite.
- Glaze Shine: A buttery glaze not only adds visual appeal but also locks in moisture, keeping the tarts fresh for longer.
- Make‑Ahead Friendly: The dough can be prepared a day in advance, chilled, and baked fresh when needed—ideal for busy mornings.
- Ingredient Quality: Using high‑grade butter, fresh fruit jam, and organic flour transforms a simple snack into a gourmet treat.
- Texture Contrast: The contrast between the crisp crust and the soft, jam‑laden center provides a satisfying multi‑sensory experience.
Inside the Ingredient List
The Flavor Base
All‑purpose flour is the backbone of the crust, providing structure and a subtle nutty flavor. If you’re aiming for a gluten‑free version, swap it for a 1:1 gluten‑free blend that includes xanthan gum. Skipping flour will result in a soggy, pancake‑like texture that won’t hold the jam.
Granulated sugar is essential for caramelizing the crust’s surface, giving it that golden‑brown finish. A pinch of brown sugar can be added for extra depth, but too much will make the dough sticky. If you prefer a low‑carb option, consider a sugar substitute that behaves similarly in baking.
The Texture Crew
Cold unsalted butter diced into small cubes creates steam pockets that puff the crust to airy lightness. The butter’s fat content also adds richness; using salted butter will alter the flavor profile and require adjusting the added salt. If you can’t find cold butter, chill the dough in the fridge for at least an hour before baking.
Baking powder is the leavening agent that ensures the crust rises just enough to stay tender yet crisp. A pinch of baking soda can be added for extra lift, but it also changes the flavor slightly. Skipping the leavening will leave the crust dense and flat.
The Unexpected Star
Lemon zest in the jam cuts through the sweetness and adds a bright, citrusy punch that balances the flavors. If you’re a fan of spicy, add a pinch of cayenne pepper for a surprising kick. Skipping the zest will make the filling overly sweet and less complex.
The Final Flourish
Powdered sugar, combined with a splash of milk, creates a glaze that’s glossy, airy, and not overly sweet. Adding a teaspoon of ground cinnamon gives the glaze a warm, aromatic note that pairs beautifully with the fruit filling. If you prefer a dairy‑free glaze, substitute the butter with coconut oil and use a plant‑based milk.
Everything’s prepped? Good. Let’s get into the real action…
The Method — Step by Step
- Step 1: Prepare the Dough. In a large mixing bowl, whisk together flour, baking powder, and salt. Add cold butter cubes and use a pastry cutter or your fingers to blend until the mixture resembles coarse crumbs. This process locks in the cold butter, creating steam pockets for a flaky crust. Let the dough rest for 10 minutes.
- Step 2: Chill the Dough. Wrap the dough tightly in plastic wrap and refrigerate for at least an hour. This chilling step allows the gluten to relax and the butter to firm up, preventing shrinkage during baking. If you’re short on time, you can proceed immediately, but the texture will be slightly less flaky.
- Step 3: Roll Out the Dough. On a floured surface, roll the dough into a 12-inch square. Keep the thickness at about 1/4 inch to ensure even baking. Cut the square into 12 equal rectangles—these will be your pop tarts. If you notice the dough sticking, dust it lightly with flour.
- Step 4: Add the Filling. Spread a generous spoonful of fruit jam onto one side of each rectangle, leaving a 1/2 inch border. Sprinkle a pinch of lemon zest over the jam for brightness. The jam should be thick enough to hold its shape but not so dry that it clumps.
- Step 5: Seal the Edges. Fold the dough over the jam, forming a rectangle. Press the edges together and crimp with a fork to seal. This step is crucial—if you miss the seal, the jam will leak during baking. Watch Out: If you’re using a very sticky jam, it may pull the dough apart; use a damp cloth to handle the dough.
- Step 6: Prepare the Baking Sheet. Line a baking sheet with parchment paper and arrange the pop tarts with a little space between them. Brush the tops lightly with melted butter to promote browning. This butter brush also adds a subtle sheen that’s visually appealing.
- Step 7: Bake. Preheat the oven to 375°F (190°C). Place the sheet in the middle rack and bake for 20 minutes. Then reduce the temperature to 350°F (175°C) and bake an additional 10 minutes until the crust is golden and crisp. This two‑stage bake ensures the crust is perfectly crisp while the filling remains juicy.
- Step 8: Cool. Remove the pop tarts from the oven and let them cool on the sheet for 5 minutes. Then transfer them to a wire rack to cool completely. Cooling is essential for the glaze to set properly; otherwise, it will run off.
- Step 9: Make the Glaze. In a small bowl, whisk together powdered sugar and milk until smooth. Add a pinch of cinnamon for warmth and whisk until the glaze is glossy. This glaze should be thick enough to coat the tops but thin enough to spread evenly.
- Step 10: Glaze and Finish. Drizzle or spread the glaze over the cooled pop tarts. Let the glaze set for 5 minutes before serving. The glaze will form a glossy, airy finish that enhances the overall texture.
That’s it — you did it. But hold on, I’ve got a few more tricks that will take this to another level…
Insider Tricks for Flawless Results
The Temperature Rule Nobody Follows
Many bakers bake pop tarts at a single temperature, but a two‑stage bake is the secret to a crisp crust and juicy filling. Start at 375°F to set the structure, then drop to 350°F to finish. This gradual cooling prevents the crust from cracking and ensures the jam stays moist. I’ve seen people skip the second stage, and the result is a dry, hard center.
Why Your Nose Knows Best
When the pop tarts are baking, the aroma should be a sweet, buttery perfume that tingles the sinuses. If you notice a metallic or burnt smell, the oven temperature is too high, or the butter is over‑melted. Trust your nose—stop the bake if the scent changes abruptly.
The 5‑Minute Rest That Changes Everything
After removing the pop tarts from the oven, let them rest for exactly five minutes before transferring them to a wire rack. This brief pause allows the steam to settle, preventing the crust from becoming soggy. I’ve tried skipping this step, and the result was a soggy edge that ruined the crispness.
The Brush of Butter for Shine
Brushing the tops with melted butter before glazing not only adds flavor but also creates a glossy barrier that helps the glaze set evenly. Use a clean pastry brush and apply a thin coat—too much butter will make the glaze run off. This simple step elevates the presentation from ordinary to show‑stopper.
The Sweet‑and‑Sour Balance
If your jam is very sweet, add a splash of lemon juice or zest to cut the sugar. This creates a balanced flavor profile that feels lighter on the palate. I’ve experimented with adding a teaspoon of balsamic vinegar for a deeper, richer flavor; it works wonders with apricot or peach jam.
The Chill for Flakiness
Chilling the dough before baking is non‑negotiable for flakiness. The cold butter forms steam pockets that puff the dough. If you’re short on time, roll the dough quickly and bake immediately, but the texture will be less flaky.
Creative Twists and Variations
Chocolate‑Covered Pop Tarts
Swapping the fruit jam for a chocolate ganache creates a decadent treat that satisfies sweet tooth cravings. Use dark chocolate for a richer flavor, and top with a drizzle of sea salt for contrast. This variation is perfect for dessert parties.
Savory Herb Pop Tarts
Replace the jam with a savory filling of roasted vegetables and feta cheese. Add fresh herbs like rosemary or thyme for aroma. The buttery crust pairs wonderfully with the salty, herby filling.
Spiced Pumpkin Pop Tarts
Use pumpkin puree mixed with cinnamon, nutmeg, and a touch of maple syrup as the filling. This is a seasonal twist that tastes like a slice of pumpkin pie. Serve warm for a comforting snack.
Coconut‑Lemon Pop Tarts
Mix shredded coconut with lemon zest and a splash of coconut milk to create a tropical filling. The coconut adds a chewy texture, while the lemon brightens the flavor. This variation is a beach‑in‑a‑bowl.
Nutty Peanut Butter Pop Tarts
Spread creamy peanut butter on one side of the dough before adding a drizzle of honey. Sprinkle chopped peanuts on top for crunch. The nutty flavor pairs with the buttery crust for a satisfying bite.
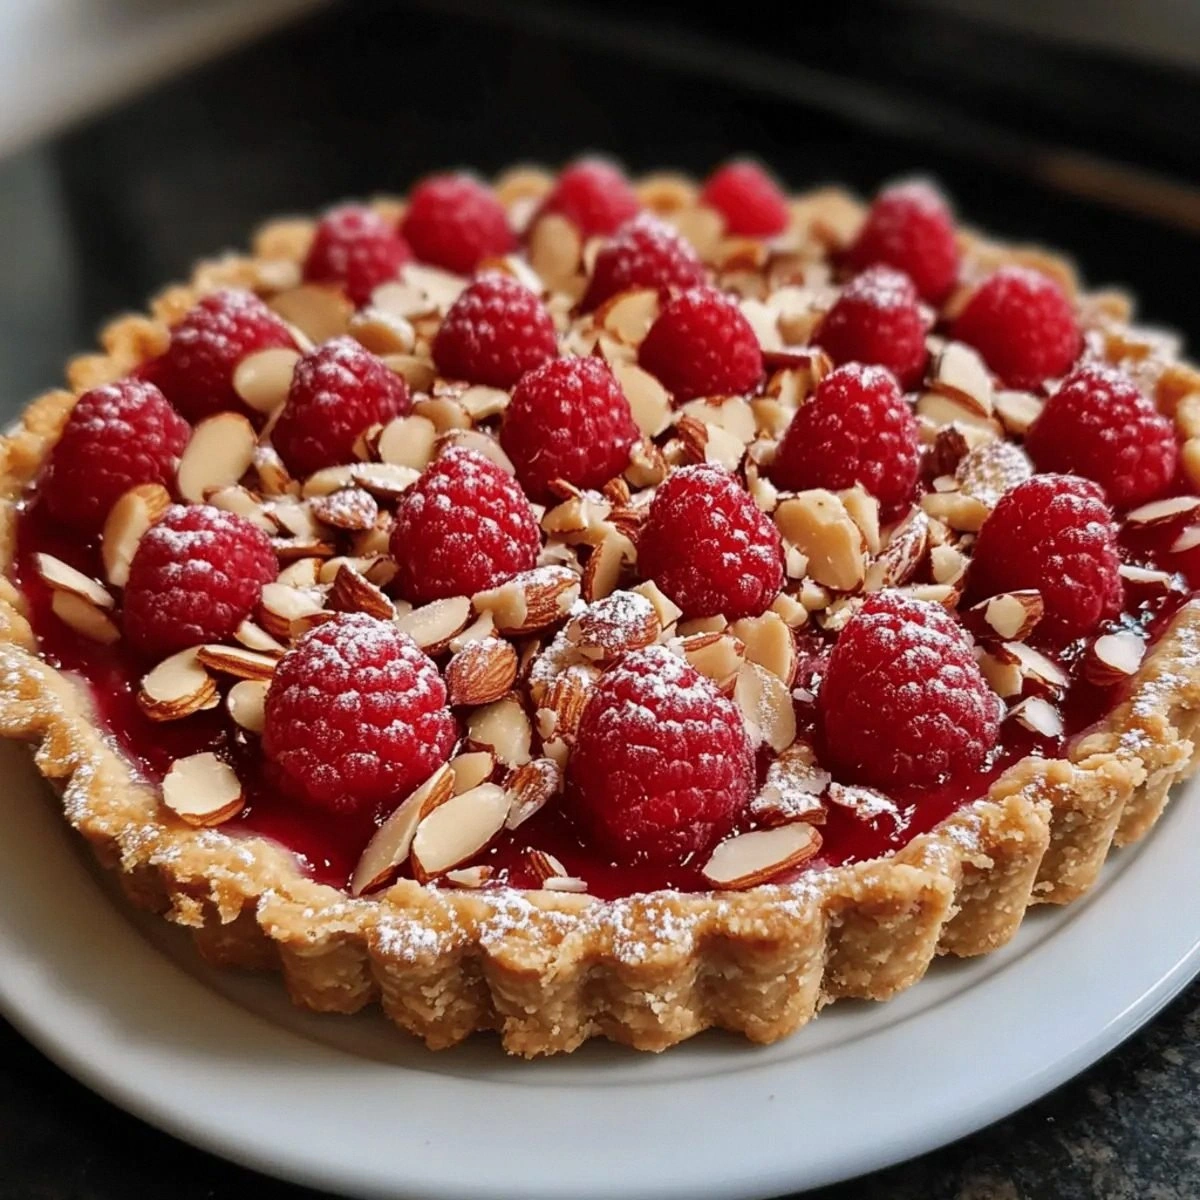
Berry‑Infused Pop Tarts
Blend fresh berries with a bit of sugar to create a vibrant filling. Add a splash of balsamic vinegar for depth. This variation offers a juicy, slightly tart flavor profile.
Storing and Bringing It Back to Life
Fridge Storage
Store pop tarts in an airtight container at room temperature for up to 3 days. If you want to keep them fresh longer, refrigerate them in a sealed bag for up to a week. The crust will stay crisp, and the filling will remain moist.
Freezer Friendly
Wrap each pop tart individually in parchment paper and place them in a freezer bag. They can be frozen for up to 2 months. Thaw at room temperature for 30 minutes before reheating.
Best Reheating Method
Reheat frozen or chilled pop tarts in a 350°F oven for 8-10 minutes, or until warm and the glaze has softened slightly. Add a tiny splash of water before reheating to create steam, which helps the glaze return to its glossy, airy texture. Avoid microwaving, as it will make the crust soggy.