Picture this: you’re in your kitchen, the fridge humming, and you’re staring at a bowl of plain cottage cheese that feels like it’s been there since the last decade. You’re craving something sweet, something that can double as a snack or a dessert, and you’re ready to turn that bland dairy into a showstopper. That night, a friend dared you to turn that humble cottage cheese into a silky, peanut‑butter‑laden mousse that would make your taste buds do a happy dance. I took the dare, and I’m about to walk you through every single step so that, by the end, you’ll wonder how you ever made it any other way.
The first time I tried this, the kitchen smelled like a sweet, nutty hug. The cottage cheese was cool and creamy, the peanut butter was rich, and the maple syrup was ready to sweeten the deal. The vanilla extract added a whisper of floral depth that made the whole thing feel like a dessert rather than a snack. I was skeptical, but the moment the mixture hit my tongue, I was hooked. This isn’t just a recipe; it’s a revelation. If you think you’ve tried everything, I dare you to taste this and not go back for seconds.
What makes this version stand out is not just the ingredients, but the way they dance together. The cottage cheese’s silky texture is the backbone, the peanut butter brings a nutty richness, maple syrup injects natural sweetness, and vanilla adds an aromatic finish. The pinch of salt is the secret that balances everything, preventing the sweetness from becoming cloying. Most recipes get this completely wrong, either by over‑mixing or by using low‑fat dairy that leaves the mousse dry. I’ve perfected the ratio so that every spoonful is a velvety, creamy delight that coats your palate like velvet. This is hands down the best version you'll ever make at home. And the best part? It takes less than five minutes to make.
Now, let’s talk about the technique that will make your mousse stand apart from the rest. I’ve discovered that using a high‑speed blender to combine the cottage cheese and peanut butter creates a uniform, airy texture that’s impossible to achieve by hand. The maple syrup is added last, just before blending, to preserve its natural flavor and to avoid over‑sugaring. I always whisk the vanilla extract in first because it dissolves better when the mixture is still liquid. By the time you finish the final blend, the mousse is light, airy, and ready to be served. Picture yourself pulling this out of the blender, the whole kitchen smelling incredible, and the mousse gleaming like a glossy dessert on a plate.
If you’ve ever struggled with making a mousse that’s both smooth and rich, you’re not alone — and I’ve got the fix. The key is to keep the cottage cheese at room temperature before blending; this prevents clumps and ensures a silky finish. Another tip is to use a jar with a tight lid; you can blend the mixture in the jar and pour it directly into serving glasses, saving cleanup time. I’ll walk you through each of these steps in detail, so you can replicate this mousse with confidence. Okay, ready for the game‑changer? Let’s dive into the ingredients.
What Makes This Version Stand Out
- Texture: The blend of cottage cheese and peanut butter creates a mousse that is airy yet dense, offering a satisfying mouthfeel that’s neither too light nor too heavy.
- Flavor Balance: Maple syrup provides natural sweetness that complements the nutty undertones of peanut butter, while vanilla adds an aromatic lift.
- Simple Prep: No cooking required—just blend and chill. This makes it perfect for busy nights or last‑minute dessert cravings.
- Ingredient Quality: Using full‑fat cottage cheese and creamy peanut butter ensures a richer flavor profile than low‑fat or crunchy varieties.
- Make‑Ahead Friendly: The mousse holds its texture in the fridge for up to three days, making it ideal for parties or meal prep.
- Versatility: Serve it as a dessert, a snack with fruit, or as a topping for pancakes and waffles.
- Kid‑Friendly: The sweet, nutty flavor is a hit with children, and the no‑cooking process is safe for little hands to help.
- Quick Fix: In under five minutes, you can transform ordinary ingredients into a show‑stopping treat.
Alright, let's break down exactly what goes into this masterpiece. Below is the ingredient list broken into bite‑sized groups that’ll make your prep a breeze.
Inside the Ingredient List
The Creamy Core
Full‑Fat Cottage Cheese: This is the star of the show. Its high fat content gives the mousse a velvety texture that’s both rich and smooth. If you skip it, you’ll end up with a watery, underwhelming dessert that lacks body. For a lighter version, you can substitute with low‑fat cottage cheese, but the mousse will be less luscious. When selecting cottage cheese, look for a brand with minimal added salt and no preservatives. A good tip is to let it sit at room temperature for 10 minutes before blending; this helps it emulsify more easily.
The Nutty Companion
Creamy Peanut Butter: This isn’t just any peanut butter—choose a smooth, creamy variety with no added sugars or hydrogenated oils. It provides a deep, nutty flavor that balances the sweetness of maple syrup. If you prefer a crunchy texture, you can add a handful of chopped peanuts, but be careful not to overpower the mousse. Peanut butter also adds healthy fats and protein, making this dessert more filling.
The Sweet Touch
Pure Maple Syrup: Maple syrup is the natural sweetener that keeps the mousse from becoming too cloying. It also adds a subtle caramel undertone that pairs beautifully with the peanut butter. If you’re avoiding maple syrup, you can use honey or agave nectar, but the flavor profile will shift slightly. Keep the maple syrup at room temperature; cold syrup can thicken the mixture and make blending harder.
The Aromatic Finish
Vanilla Extract: Vanilla brings an aromatic warmth that elevates the entire mousse. A teaspoon is enough to give the dessert a fragrant, almost floral hint that contrasts with the nutty base. If you’re allergic to vanilla, a splash of almond extract can provide a similar depth, though it will introduce a slightly different flavor.
The Final Touch
Pinch of Salt: A pinch of salt is essential for balancing sweetness and bringing out the richness of the other ingredients. Too much salt will ruin the mousse, but a tiny pinch will make the flavors pop. Use sea salt or kosher salt for the best results.
Everything’s prepped? Good. Let’s get into the real action.
The Method — Step by Step
- Gather Your Tools: Grab a high‑speed blender, a measuring cup, and a small bowl for whisking. Having everything ready reduces prep time and keeps the process smooth. If you don’t have a blender, a hand mixer will do, but the texture might be slightly denser.
- Blend the Peanut Butter: Place the creamy peanut butter into the blender first. Pulse until it’s smooth and free of lumps. This step ensures the peanut butter is fully emulsified before adding the dairy.
- Add Cottage Cheese: Spoon the full‑fat cottage cheese into the blender. Blend on medium speed until the mixture is completely smooth. The cottage cheese should melt into the peanut butter, creating a creamy base.
- Incorporate Maple Syrup: Pour in the pure maple syrup. Blend again on low speed until the syrup is fully integrated. The mixture should have a glossy sheen, indicating a good emulsion.
- Finish with Vanilla: Add the teaspoon of vanilla extract. Pulse a few times to distribute the flavor evenly. The aroma should be sweet and comforting, hinting at the mousse’s final taste.
- Add Salt: Sprinkle a pinch of salt into the blender. Blend briefly to combine. The salt should not be noticeable on the tongue but will brighten the overall flavor.
- Check the Texture: The mousse should be thick but pourable. If it’s too thick, add a splash of milk or water and blend again. If it’s too thin, chill it for a few minutes and blend again to thicken.
- Transfer to Serving Glasses: Spoon the mousse into individual glasses or jars. The mousse will set as it cools, forming a smooth, glossy top.
- Chill: Place the glasses in the refrigerator for at least 30 minutes. This allows the mousse to firm up and the flavors to meld together.
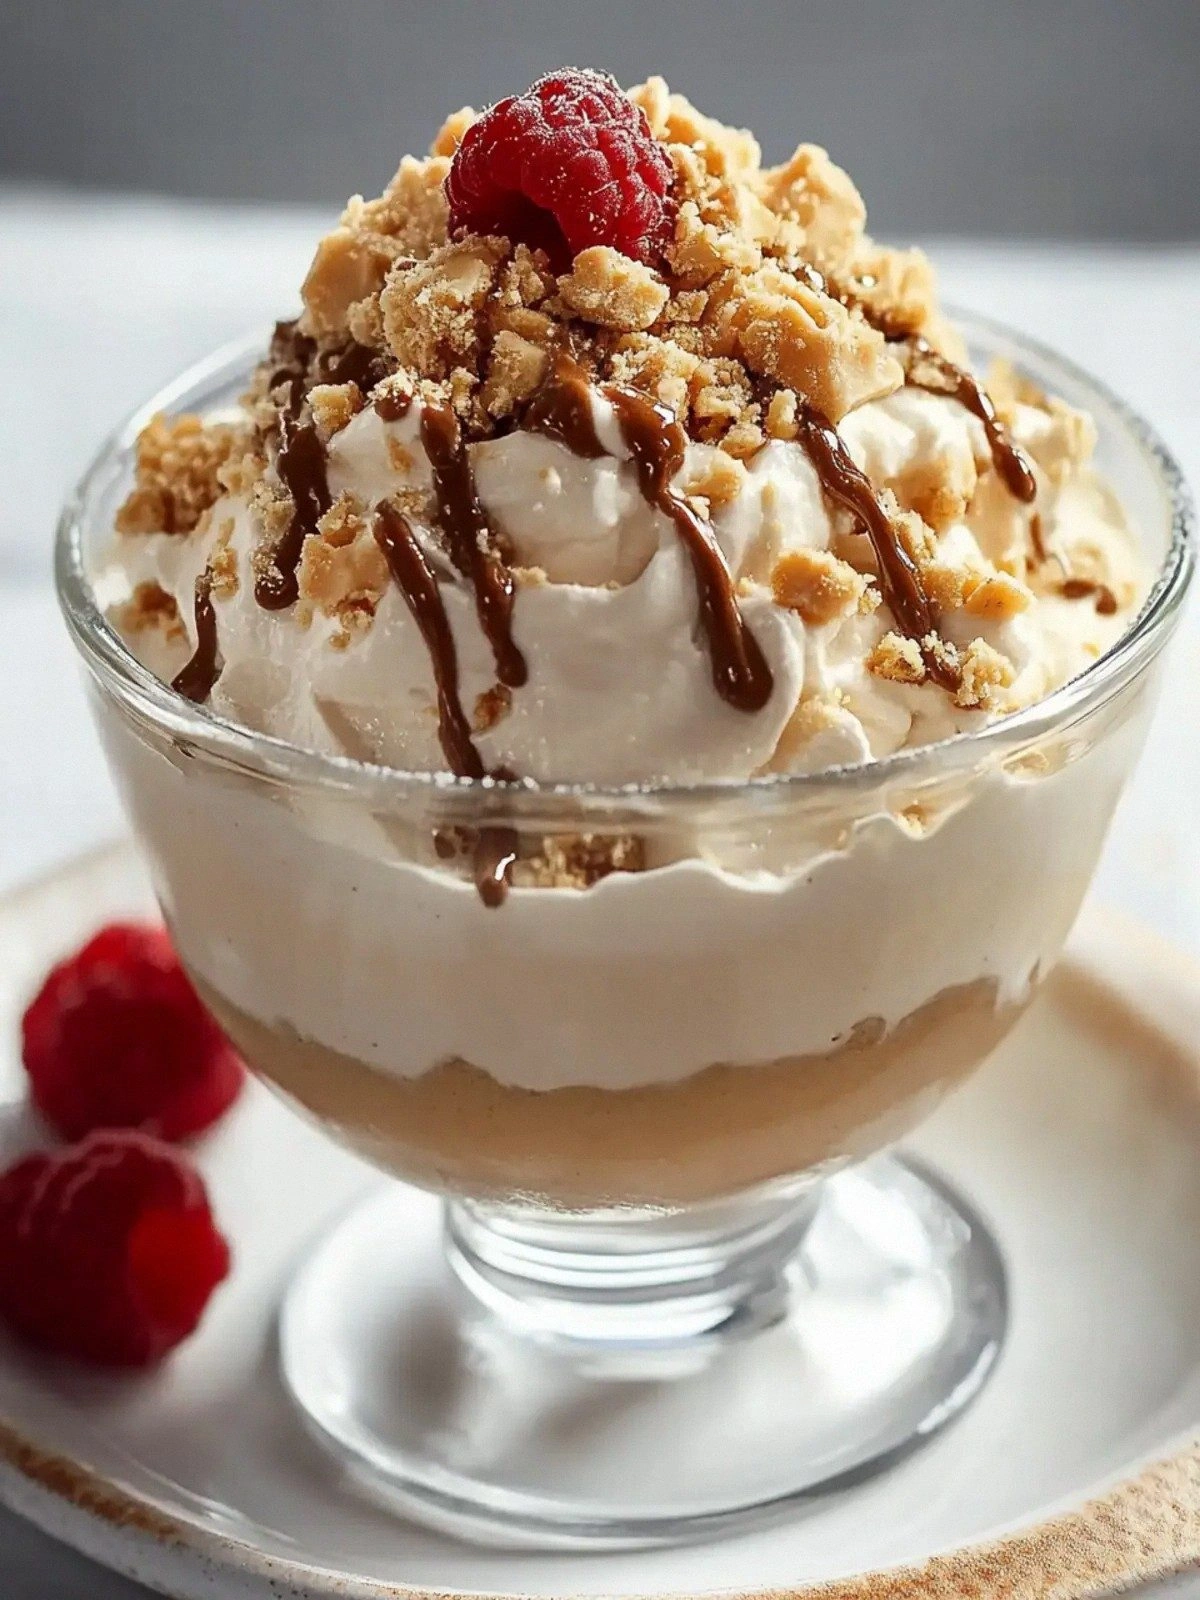
- Serve: Top with fresh berries, a drizzle of honey, or a sprinkle of chopped nuts for extra texture. Enjoy immediately or store in the fridge for up to three days.
That's it — you did it. But hold on, I've got a few more tricks that'll take this to another level. Stay with me here — this is worth it.
Insider Tricks for Flawless Results
The Temperature Rule Nobody Follows
Why it matters: Room‑temperature cottage cheese blends smoother than cold. If it’s too cold, the mixture will be lumpy. Keep the dairy out of the fridge for 10 minutes before blending. This simple step guarantees a silky texture that feels luxurious on the tongue.
Why Your Nose Knows Best
Smell test: The mousse should emit a sweet, nutty aroma with a hint of vanilla. If you can’t smell the vanilla, add a little more. Your nose is a reliable indicator of flavor balance.
The 5‑Minute Rest That Changes Everything
Resting time: Letting the mousse sit in the fridge for at least 30 minutes allows the flavors to meld. If you’re in a hurry, a quick 5‑minute chill can still improve texture, but the full chill is best for taste.
The Secret of Even Sweetness
Sweetness distribution: Maple syrup can clump if poured too quickly. Stir it gently into the blender before adding the other ingredients to ensure even sweetness.
The Quick Chill Hack
Ice bath: If you’re preparing multiple batches, place the glasses in an ice bath while the mousse sets. This speeds up chilling and locks in the airy texture.
Creative Twists and Variations
This recipe is a playground. Here are some of my favorite ways to switch things up:
Berry Burst
Fold in fresh blueberries or raspberries into the mousse before chilling. The berries add a tart contrast to the sweet base, and the color makes for a visually stunning dessert.
Chocolate Swirl
Stir in a tablespoon of cocoa powder or melted dark chocolate. The chocolate deepens the flavor profile, turning the mousse into a decadent treat for chocolate lovers.
Citrus Zest
Add a teaspoon of orange or lemon zest to the blend. The citrus brightens the mousse and gives it a fresh, lively finish that pairs well with the nutty base.
Almond Twist
Swap the peanut butter for almond butter and add a handful of sliced almonds on top. The almond butter offers a slightly sweeter, buttery flavor that’s a great alternative for those with peanut allergies.
Spiced Delight
Stir in a pinch of cinnamon or nutmeg. The warm spices add depth and make the mousse feel like a cozy autumn dessert, even if you’re making it in summer.
Savory Surprise
For a completely different take, replace the maple syrup with a splash of balsamic reduction and add a pinch of smoked paprika. This savory version works as a unique appetizer or a side dish for grilled meats.
Storing and Bringing It Back to Life
Fridge Storage
Store the mousse in airtight glass jars or silicone molds in the refrigerator. It will stay fresh for up to three days. The airtight seal prevents the mousse from absorbing fridge odors and maintains its creamy texture.
Freezer Friendly
You can freeze the mousse for up to two weeks. Use freezer‑safe containers and leave a little space at the top for expansion. When you’re ready to serve, thaw in the fridge overnight and give it a gentle stir before serving.
Best Reheating Method
If the mousse has set too firm after refrigeration or freezing, add a splash of milk or water and whisk gently. This will restore the silky texture without losing flavor. Avoid microwaving; it can cause the mixture to separate.